
Our rustic kitchen
I don’t know about you but isn’t it amazing how excited we get when we
start a new project on our homes! Then work and reality set in and you begin
to think, what was I thinking:) But, when the end is near and you can the light
at the end of the tunnel, you are so thankful and happy with yourself! I know we are!
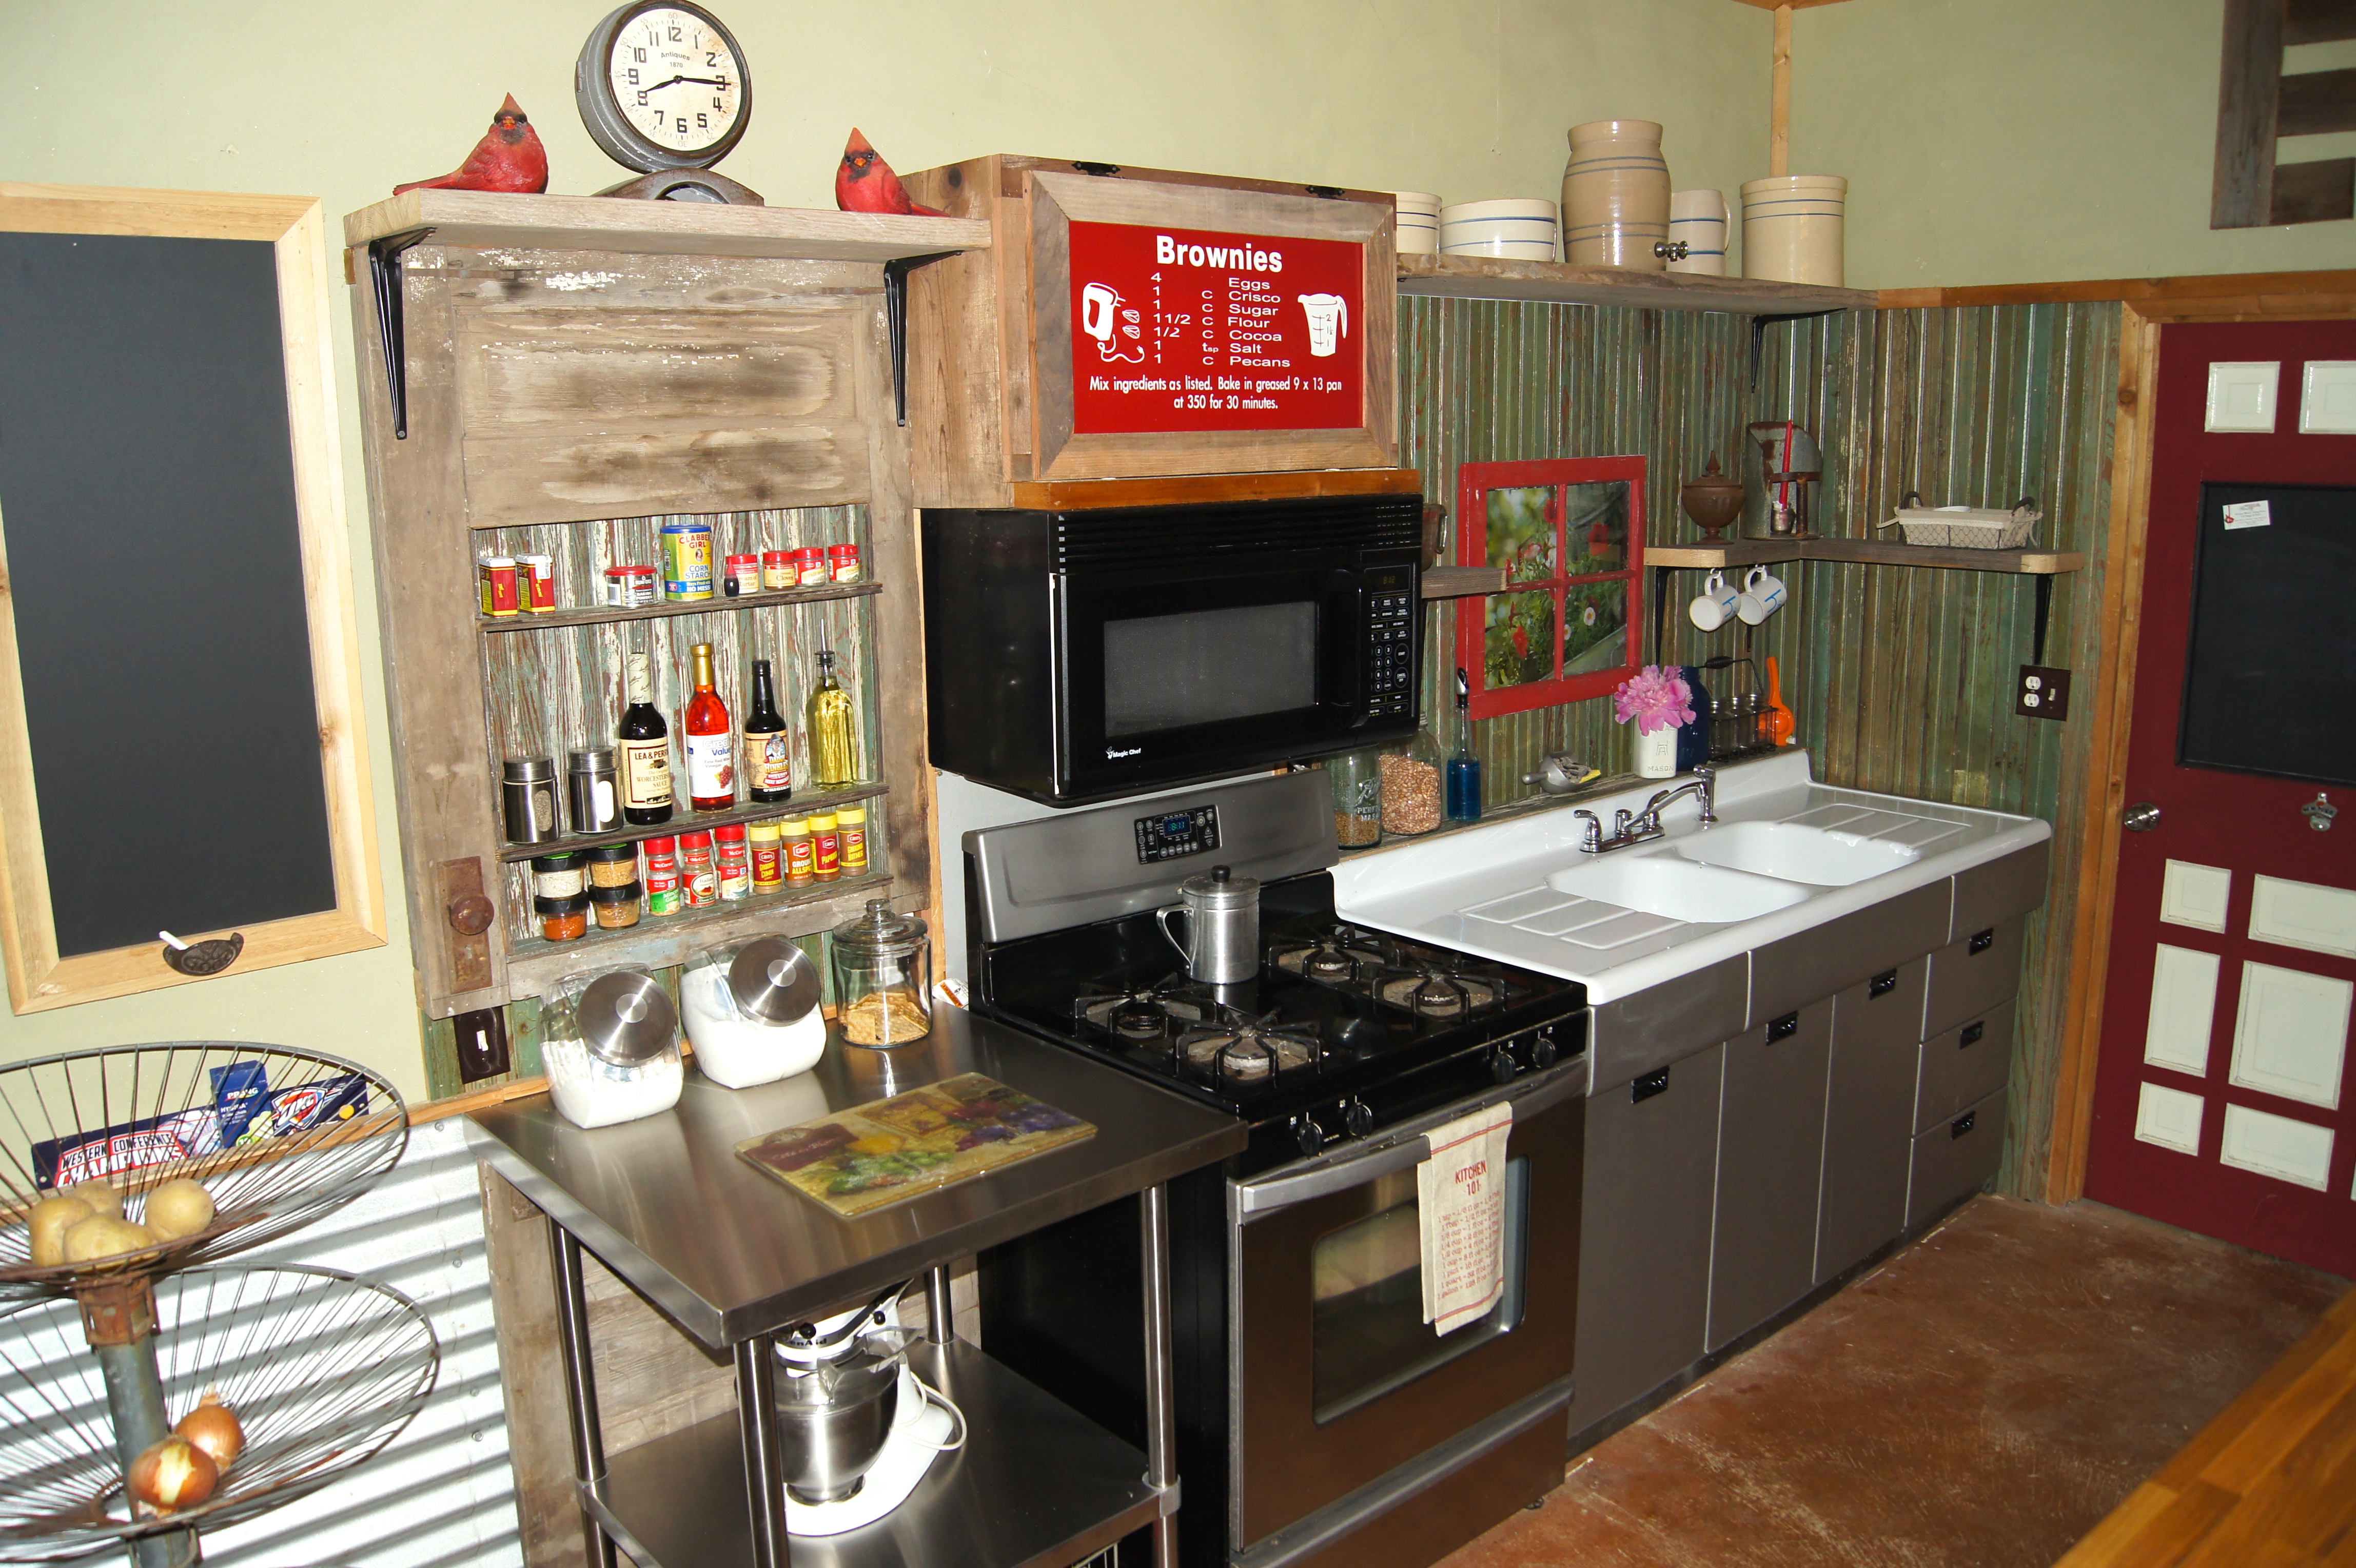
I’ve already shared our Old Weathered Door Spice Rack and our Cookbook Cabinet with you!
Let me show the last and final project that completes our makeover!

This is a before picture of our kitchen.
Picture of our kitchen before we started this little makeover!
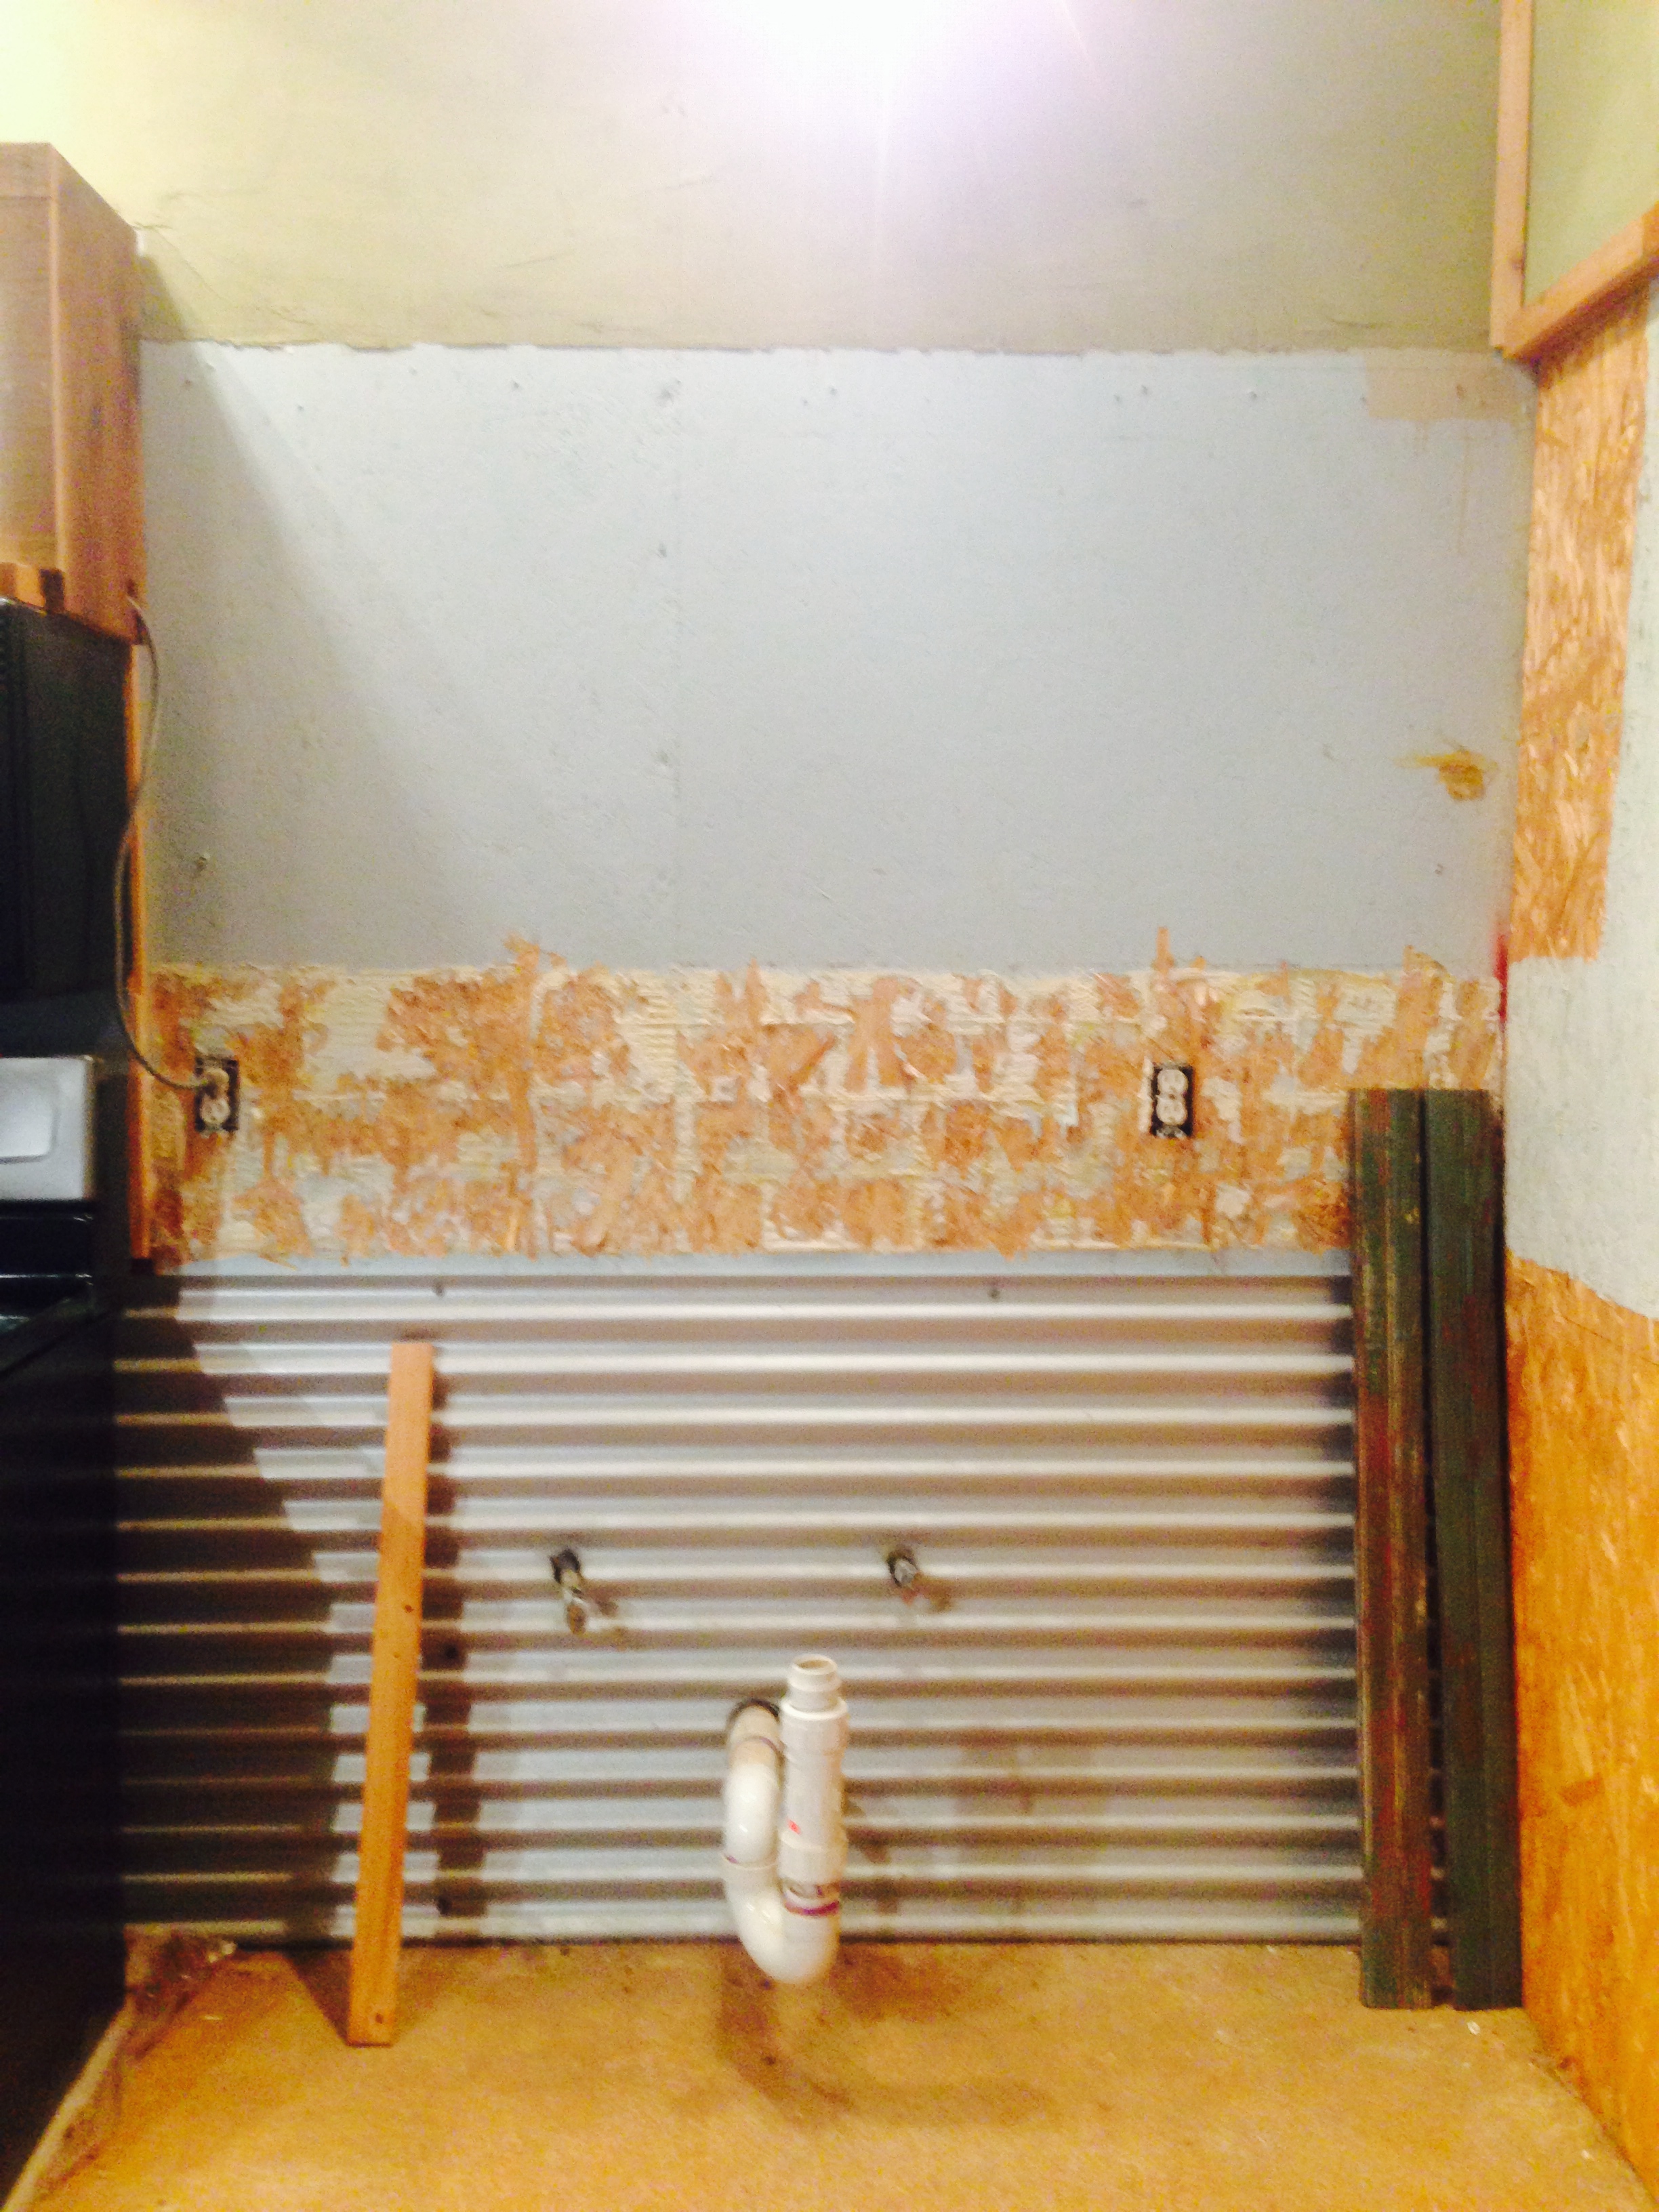
We’ve remove old metal cabinets.
Demo is done and it is time to install a new backsplash!
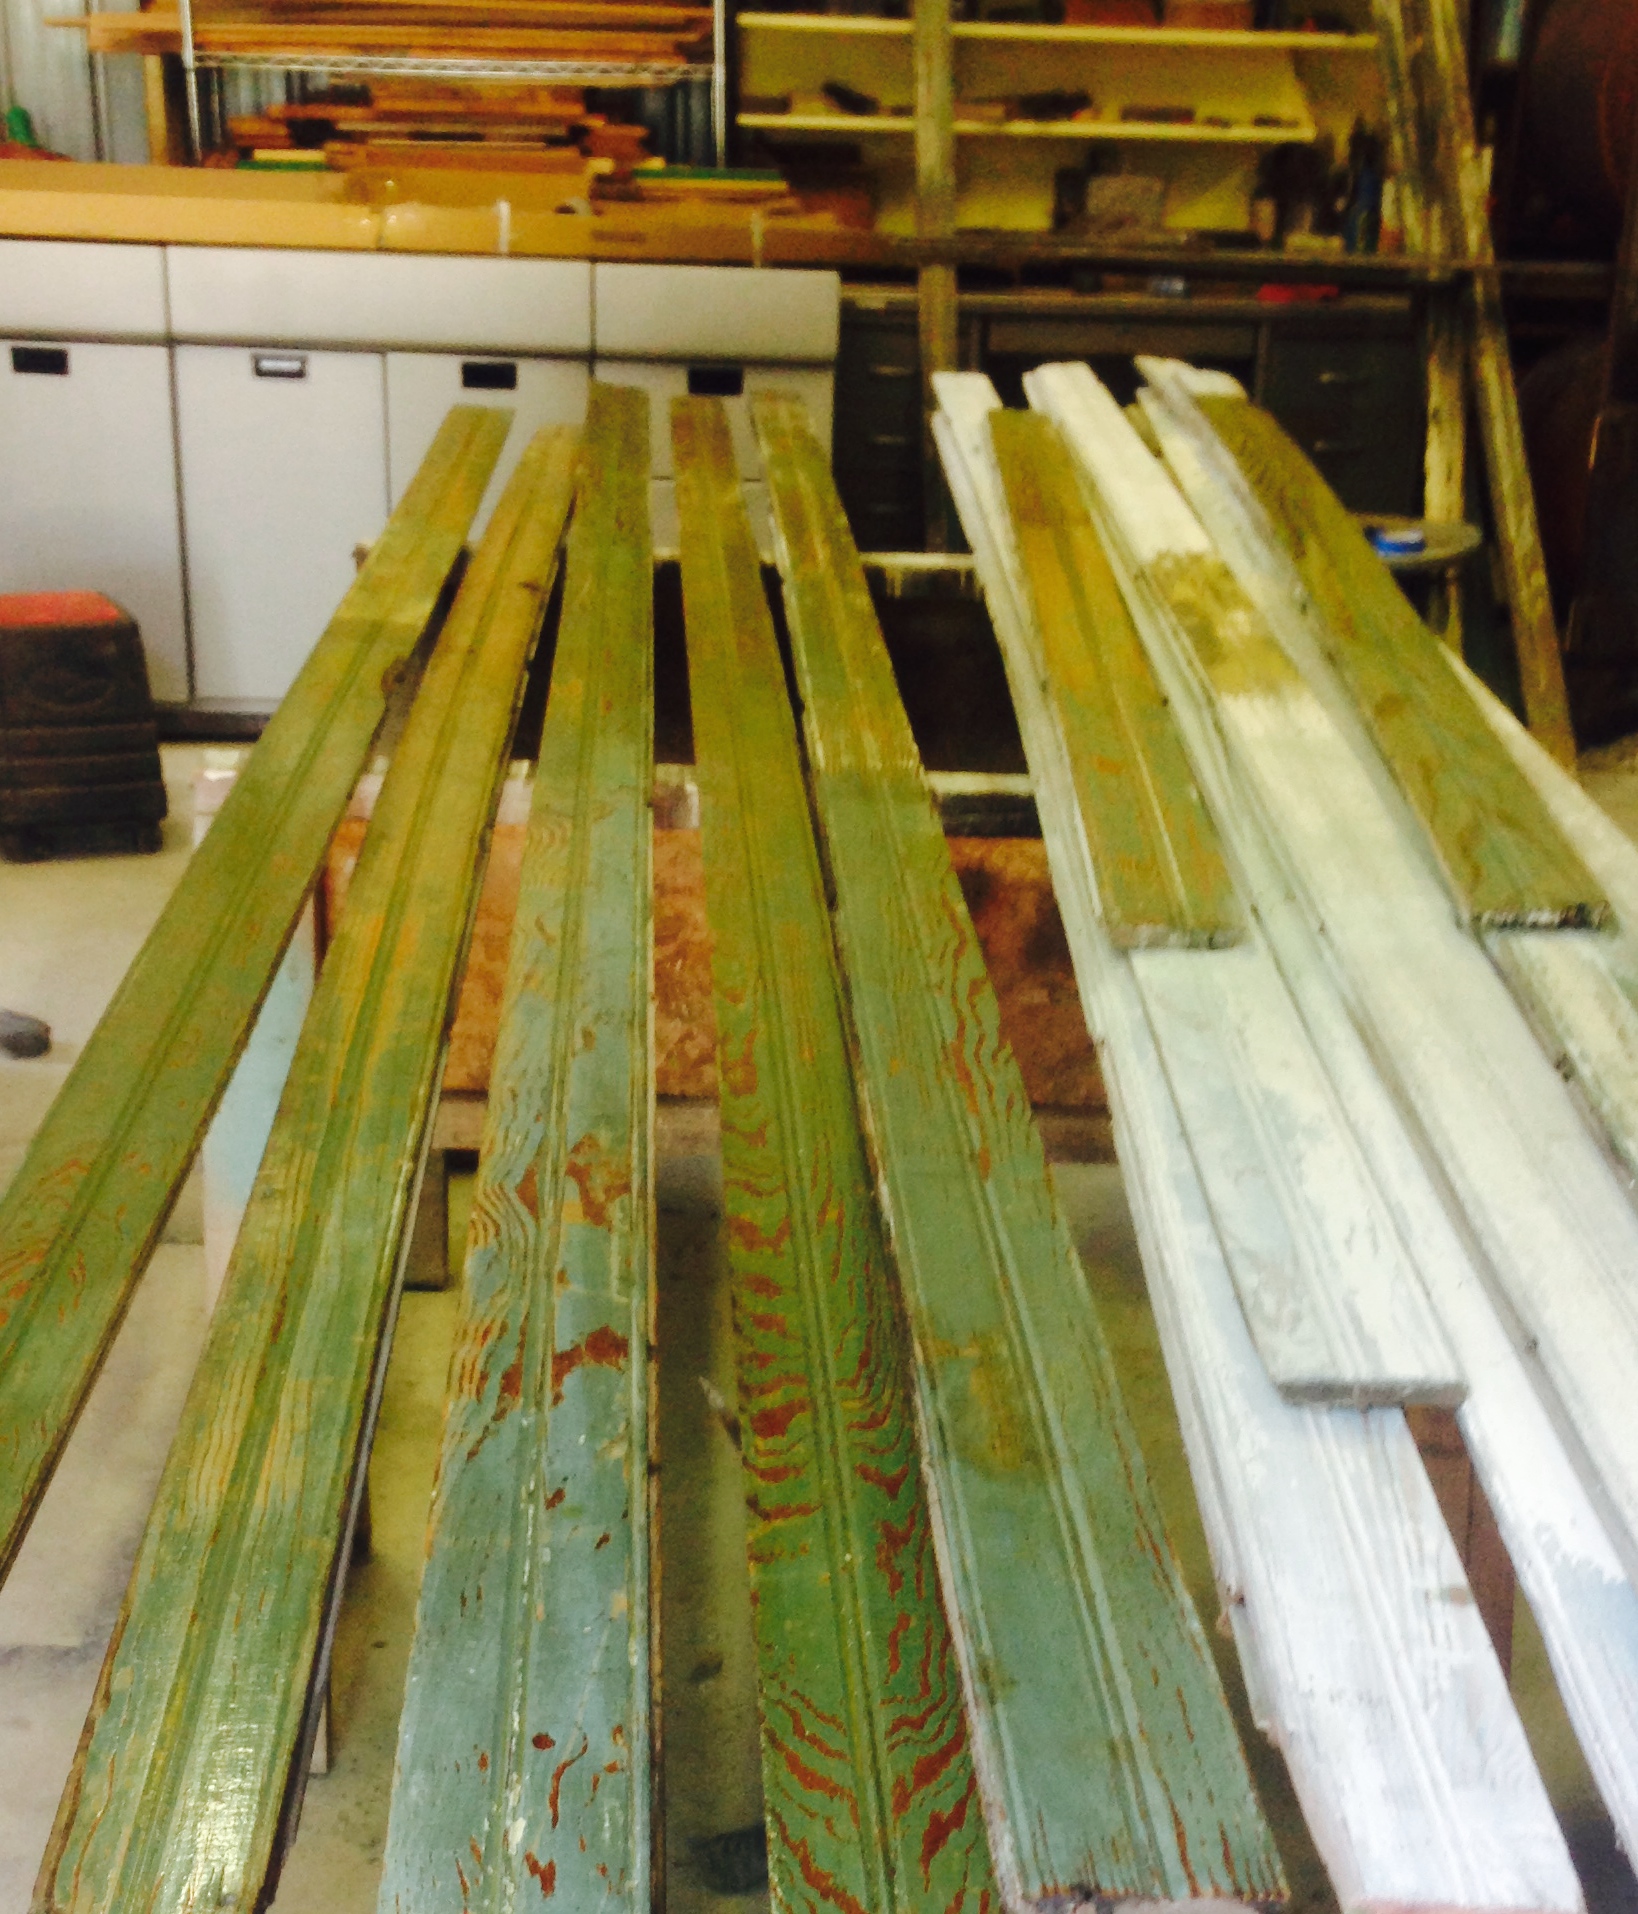
We have sanded and wiped down the old ceiling boards and applied Cabot’s Marine grade sealer.
We were so fortunate that a friend of ours, had several old ceiling boards that came out of
an old local lumber yard. We cleaned and sanded the top layer off the old boards
and then applied Cabot’s Marine Grade Sealer to each board. This should seal up
any lead paint and make the boards waterproof around the kitchen sink. Gosh, I just love the color:)
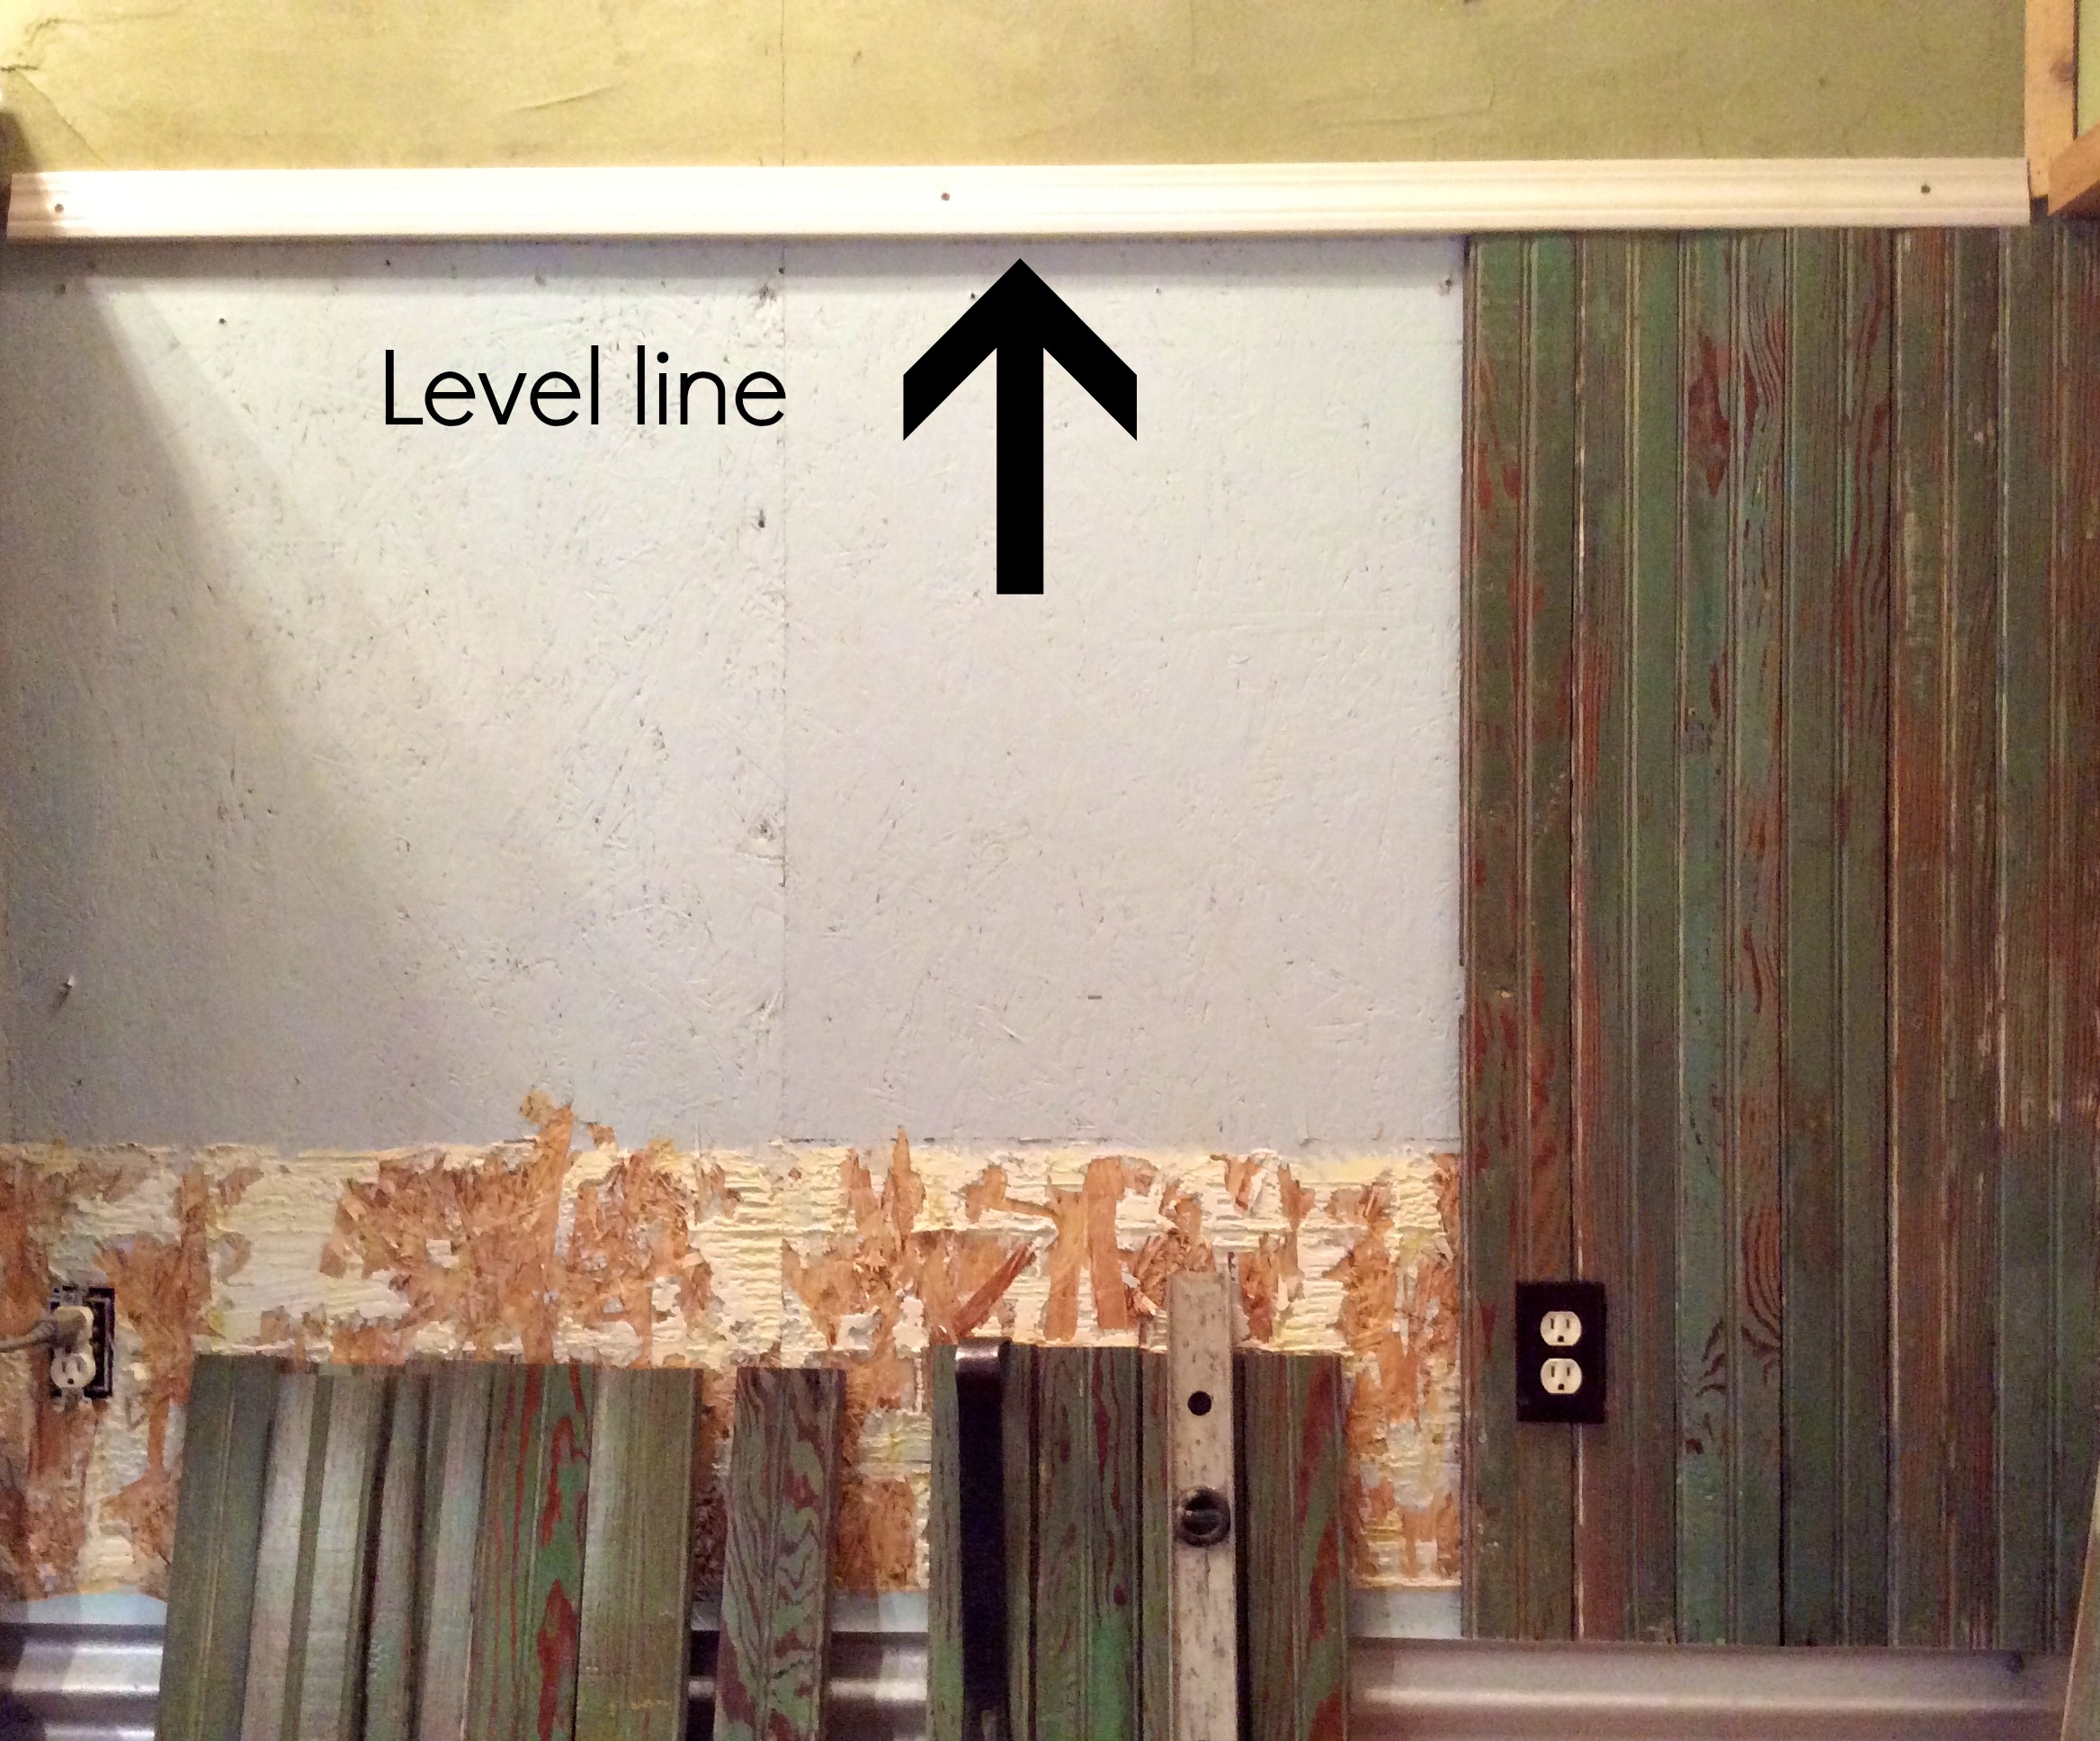
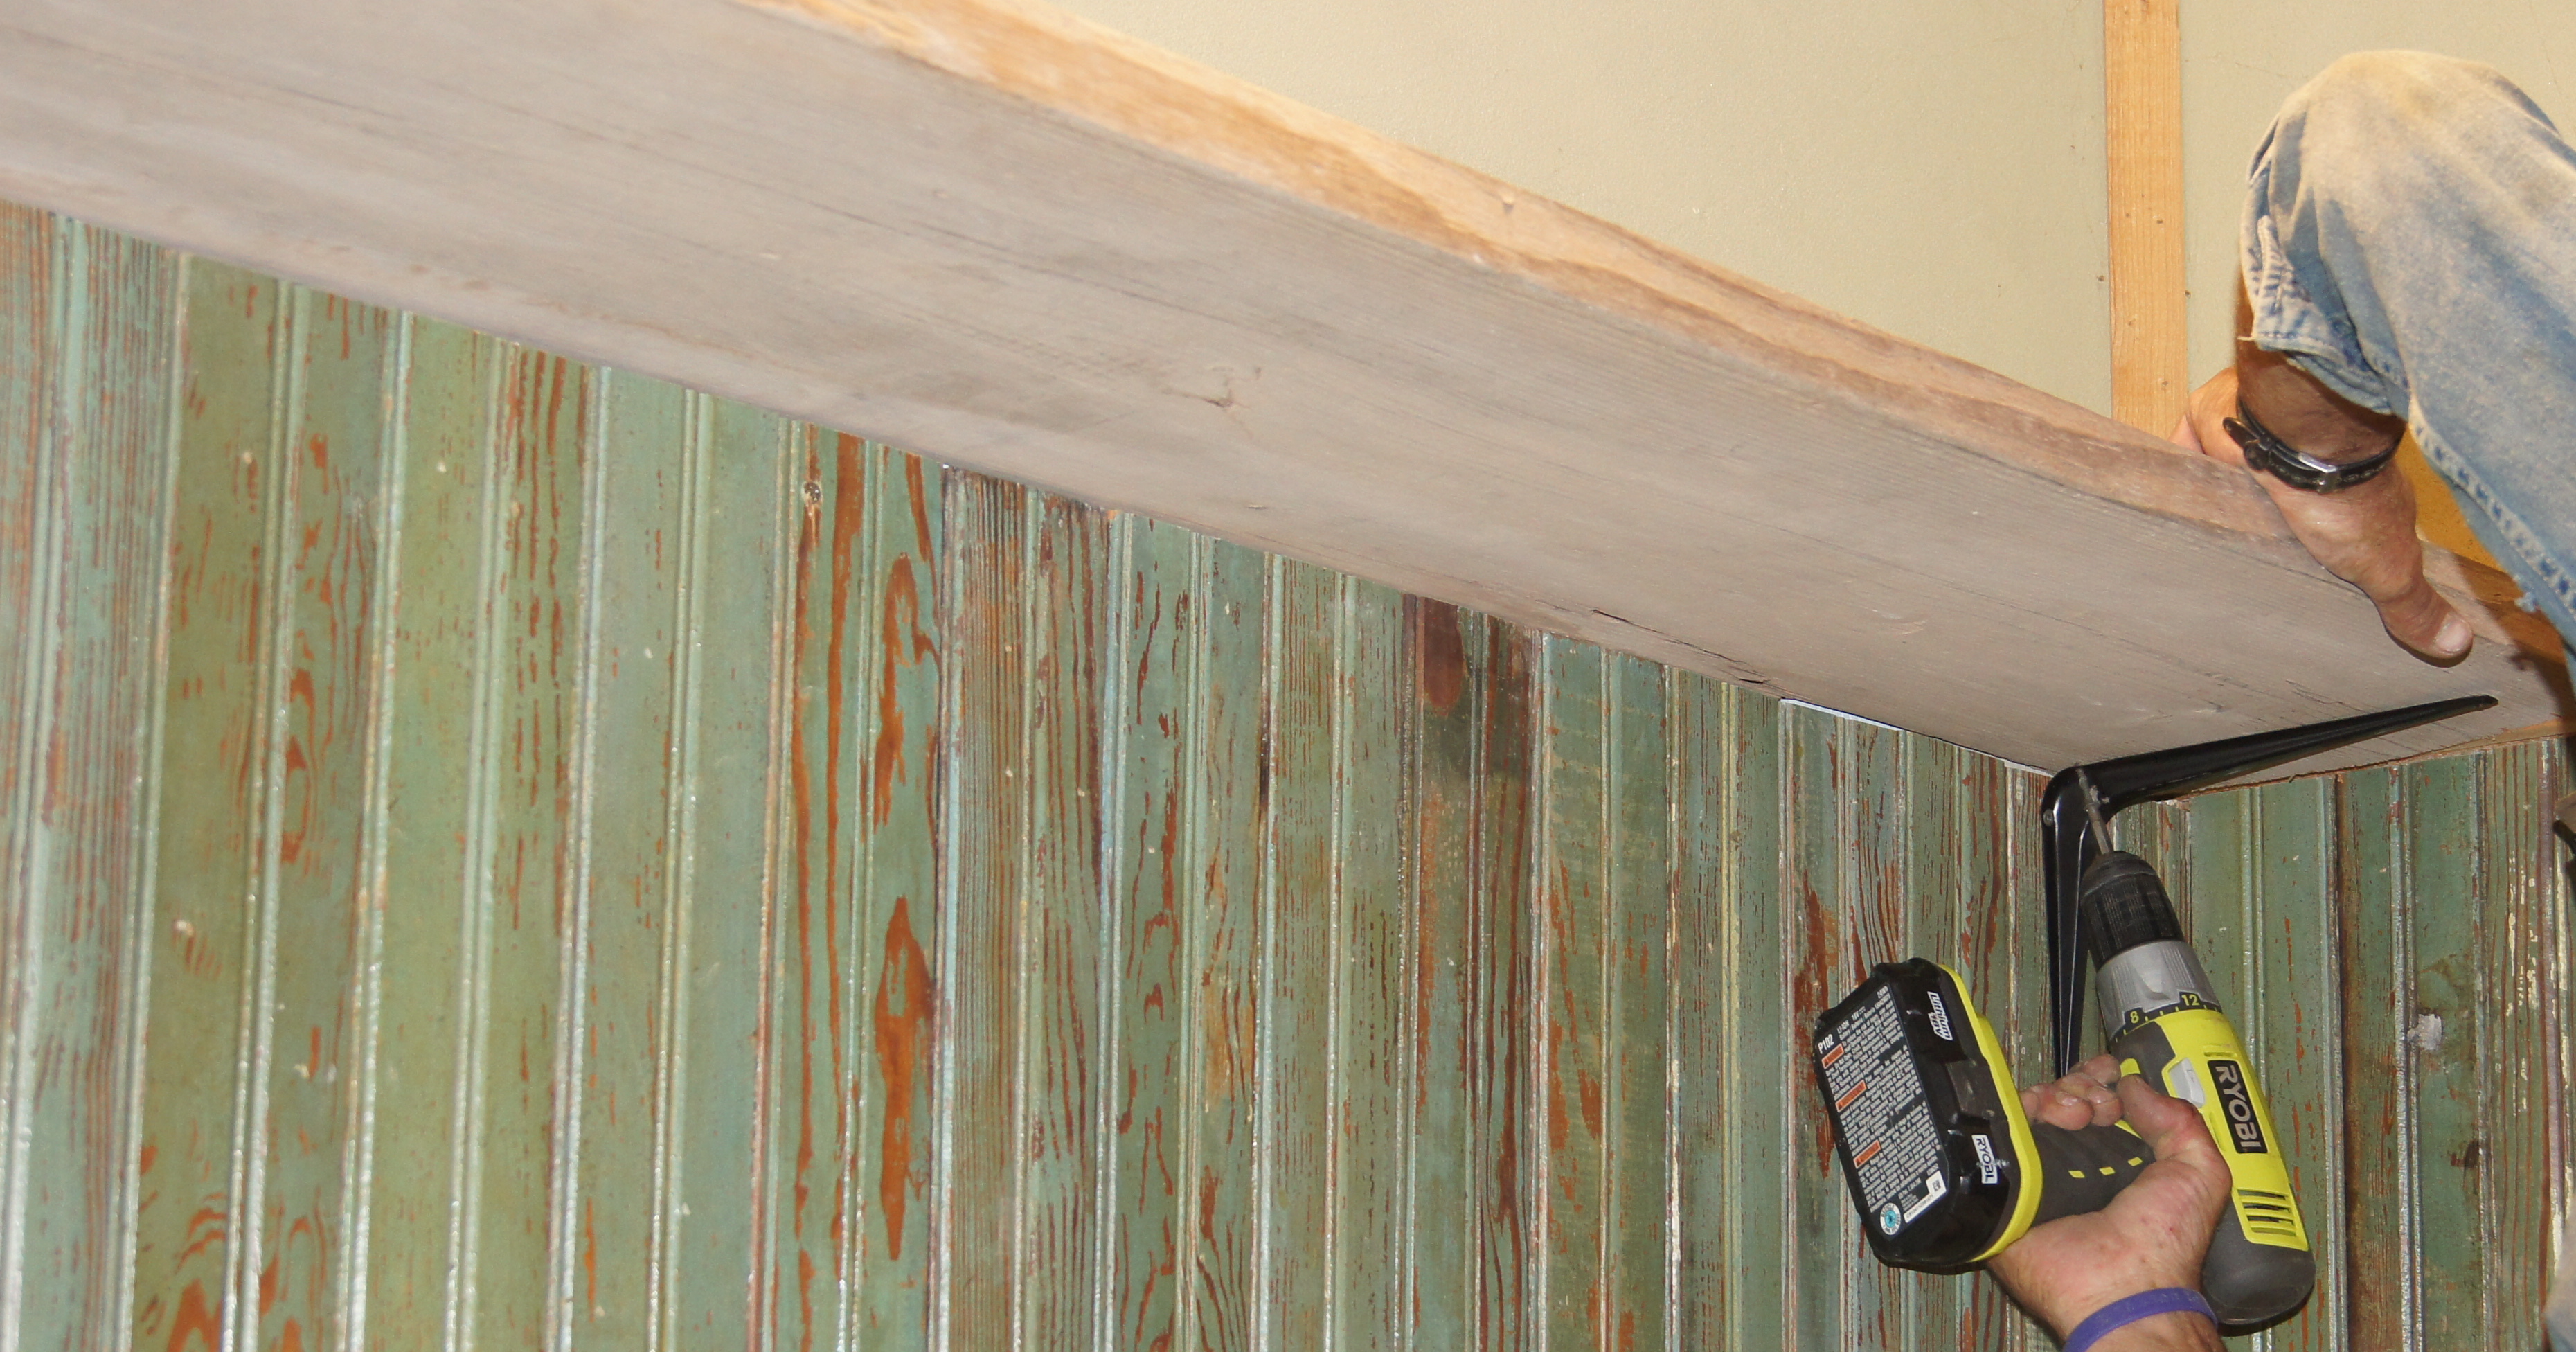
I leveled and screwed a board to the wall to help me keep the boards straight.
As we were getting ready to nail up the ceiling boards for our backsplash,
work called, they had down so, Honey had to go and get them going, again.
The life of being married to a maintenance, who is on call 24-7. I said to myself,
work must go on. I backed up and thought, what would Honey do?
So I got the level and a board that would fit across the space. Once, I found a level line
I attached my board to the wall. That was my guide to keeping the boards straight.
Honey was so proud we he got home! He said, well done, grasshopper:)
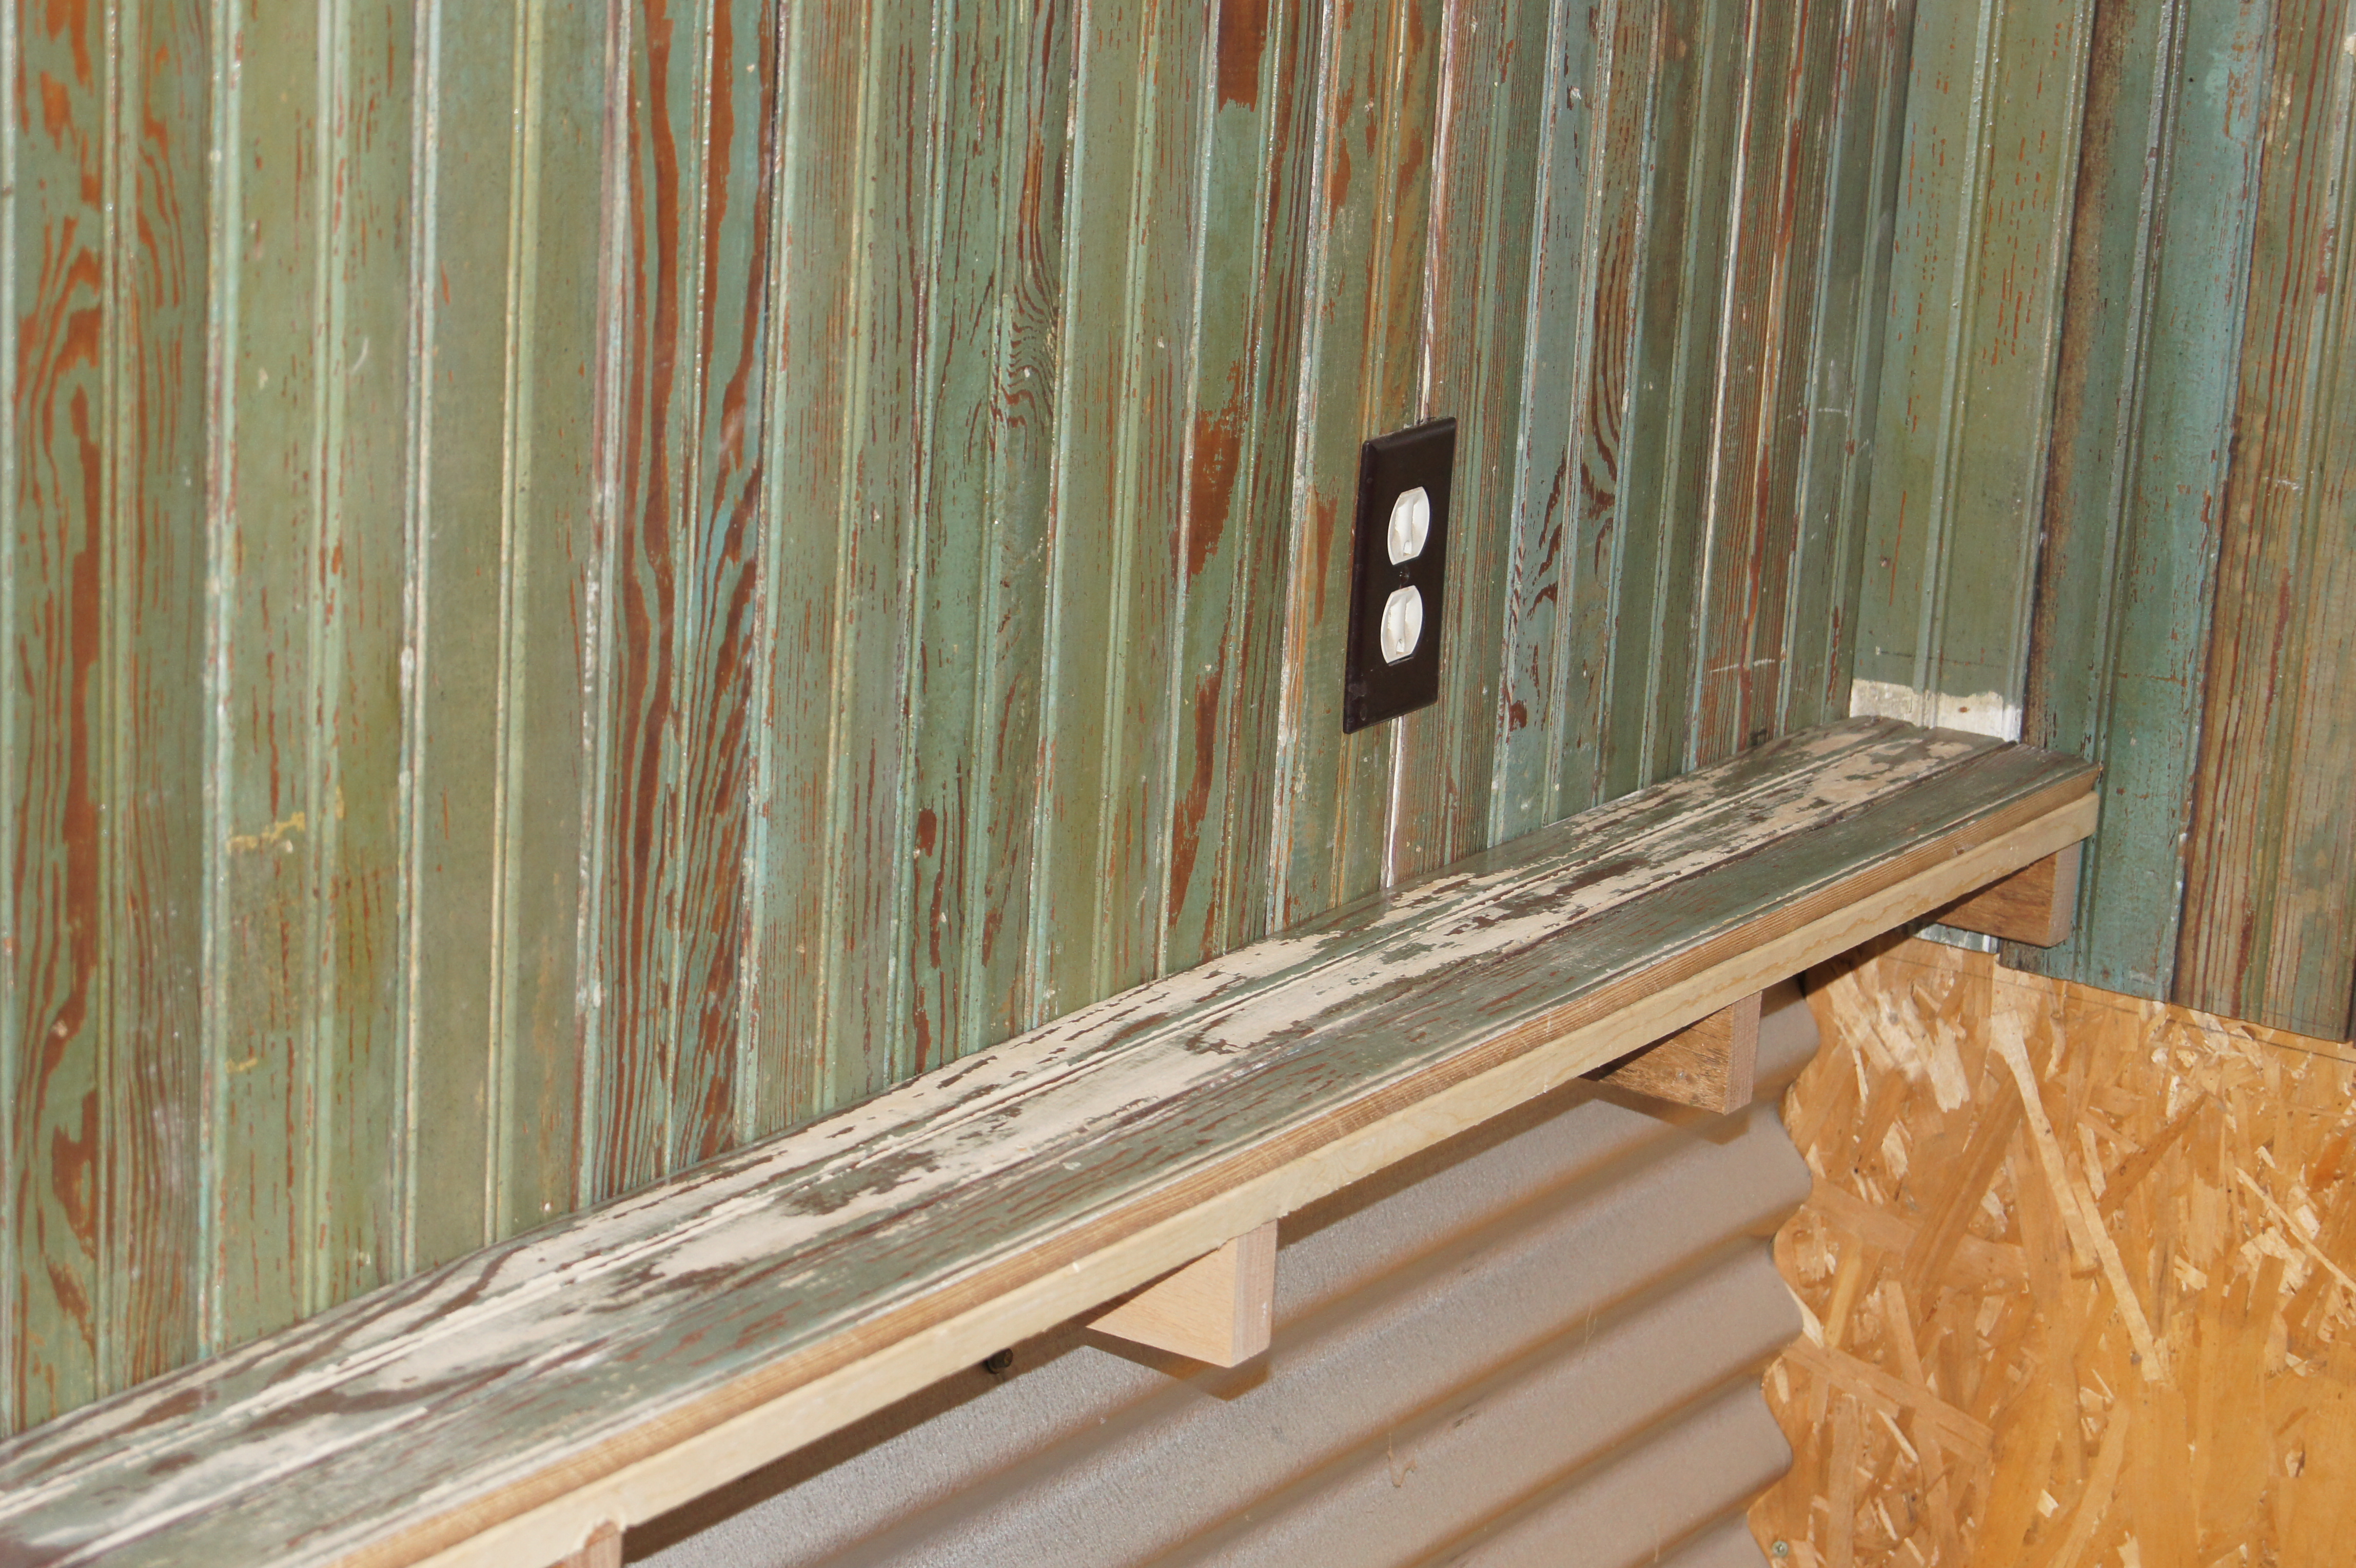
We built a shelf just behind the sink so that it would come out even with the stove.
Next, a shelf had to be built to line up the old cabinet with the stove.
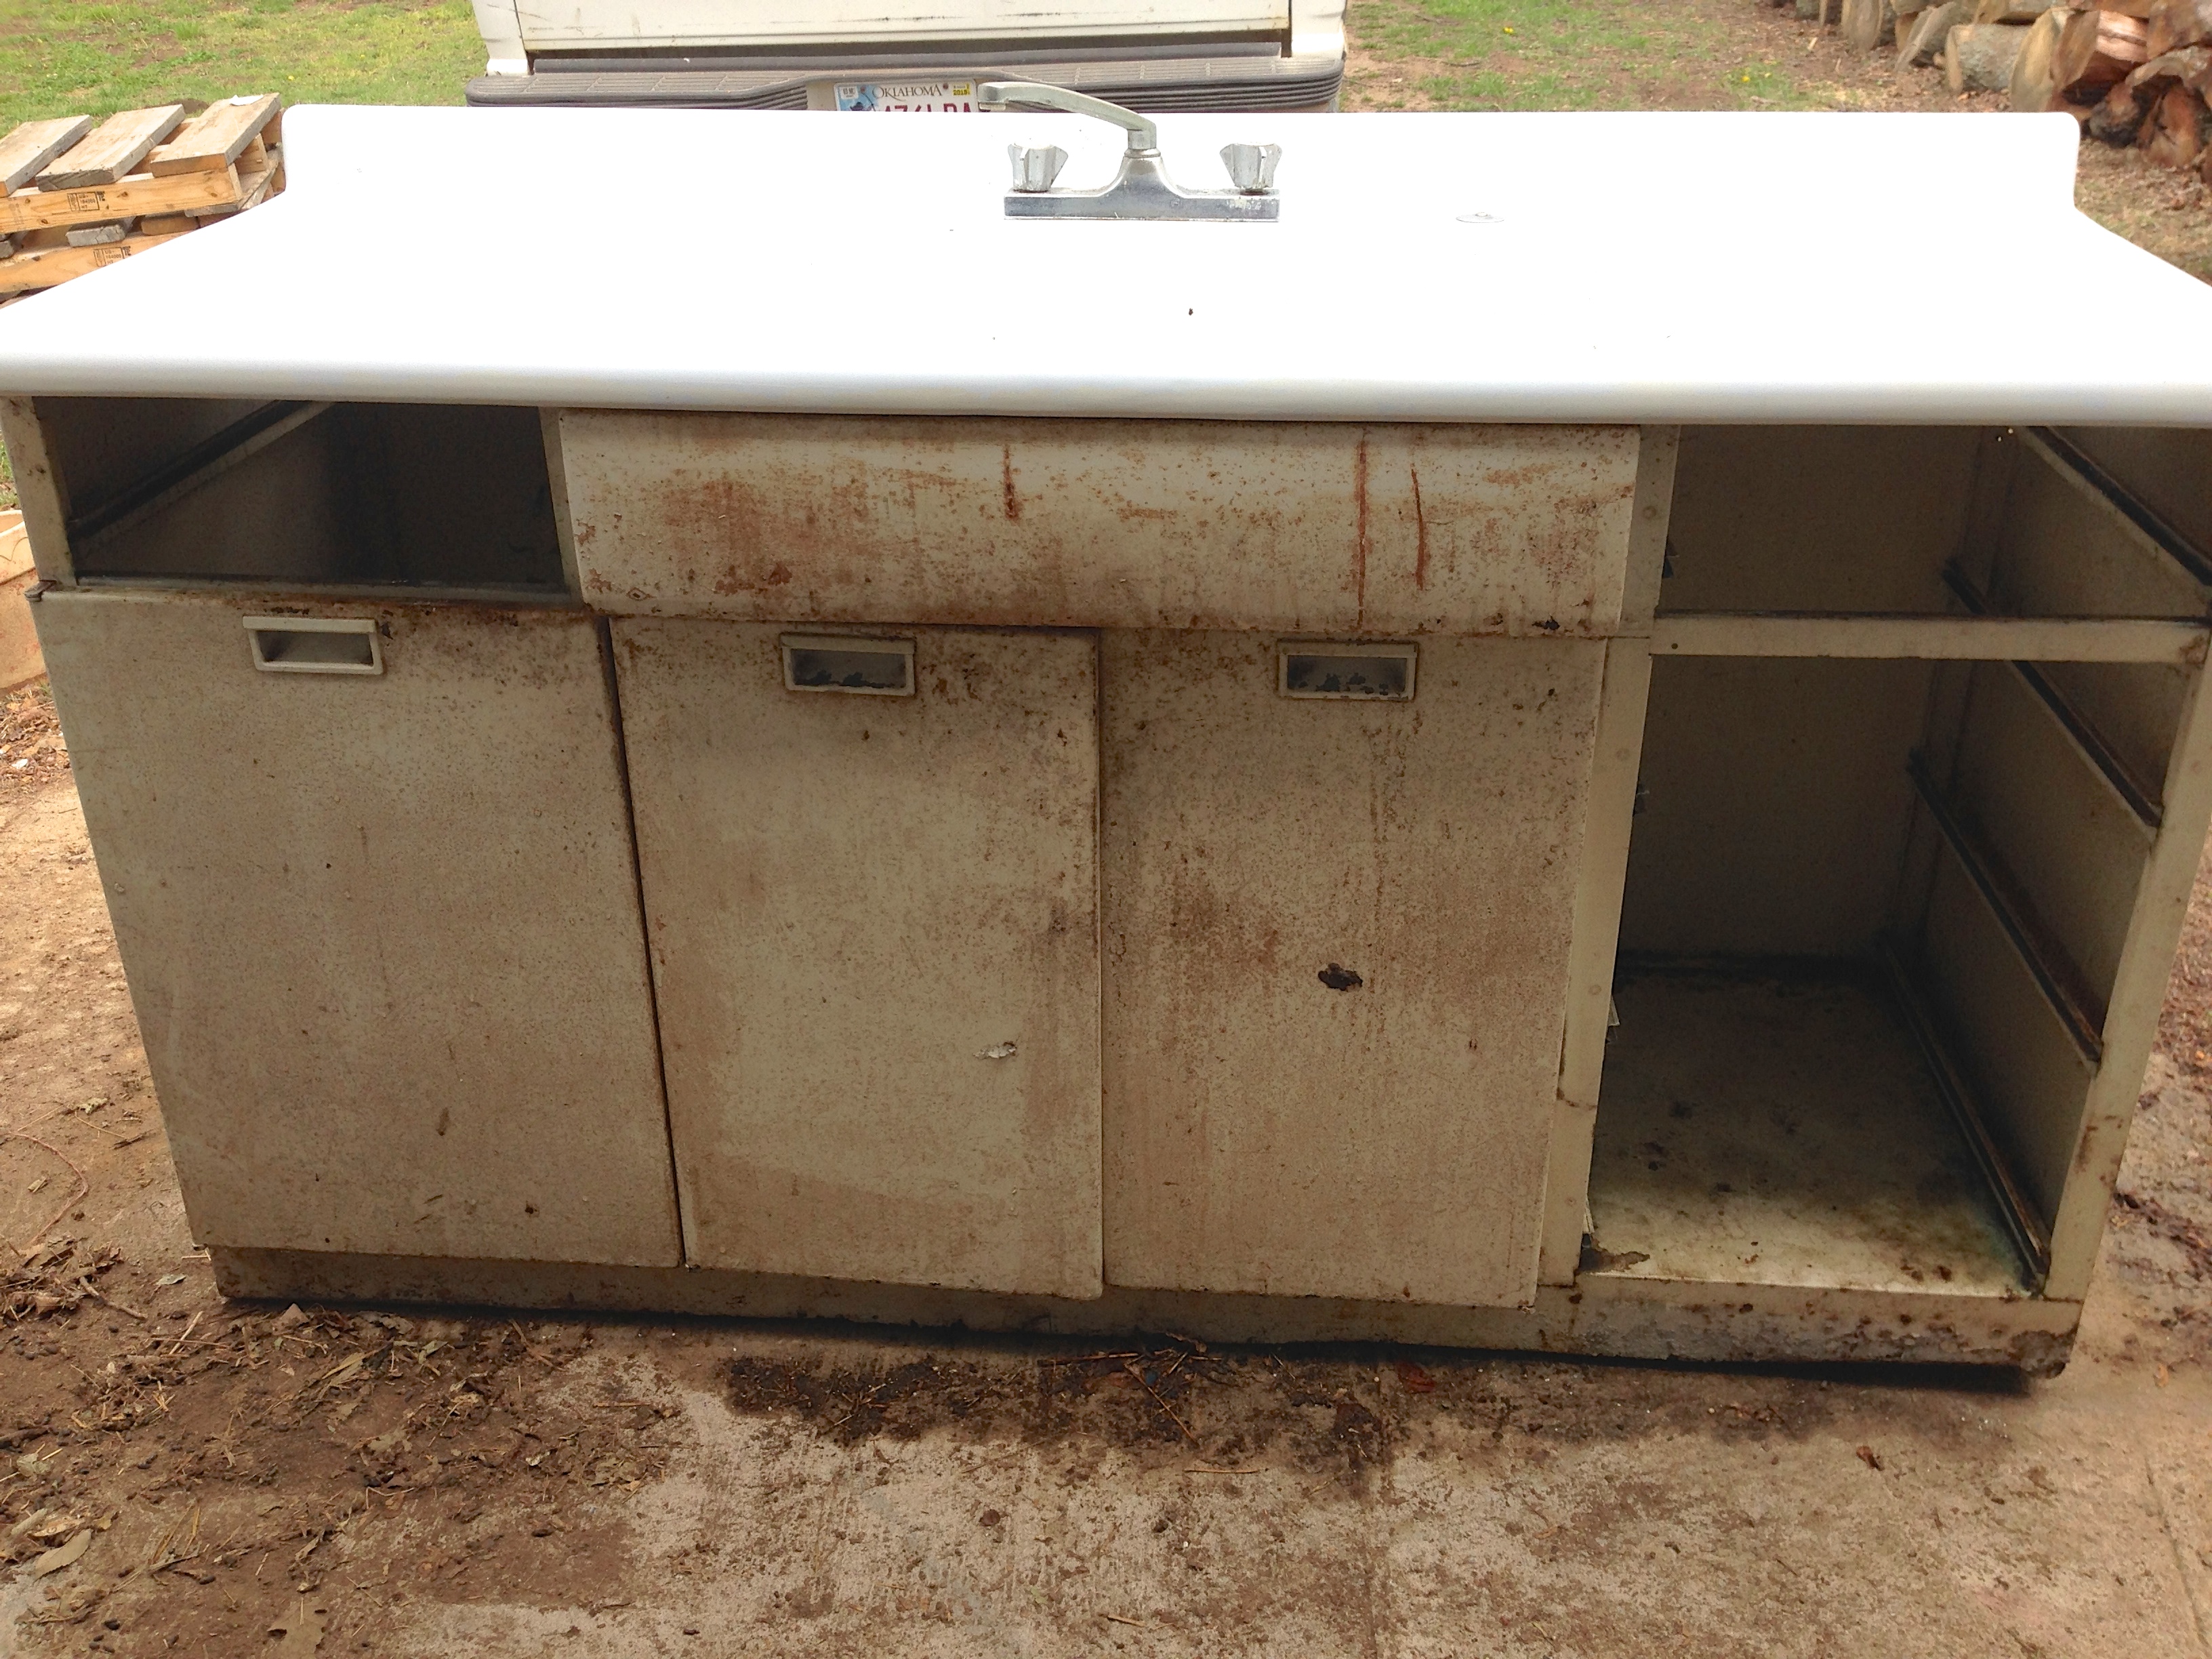
Montgomery Wards Metal Cabinet
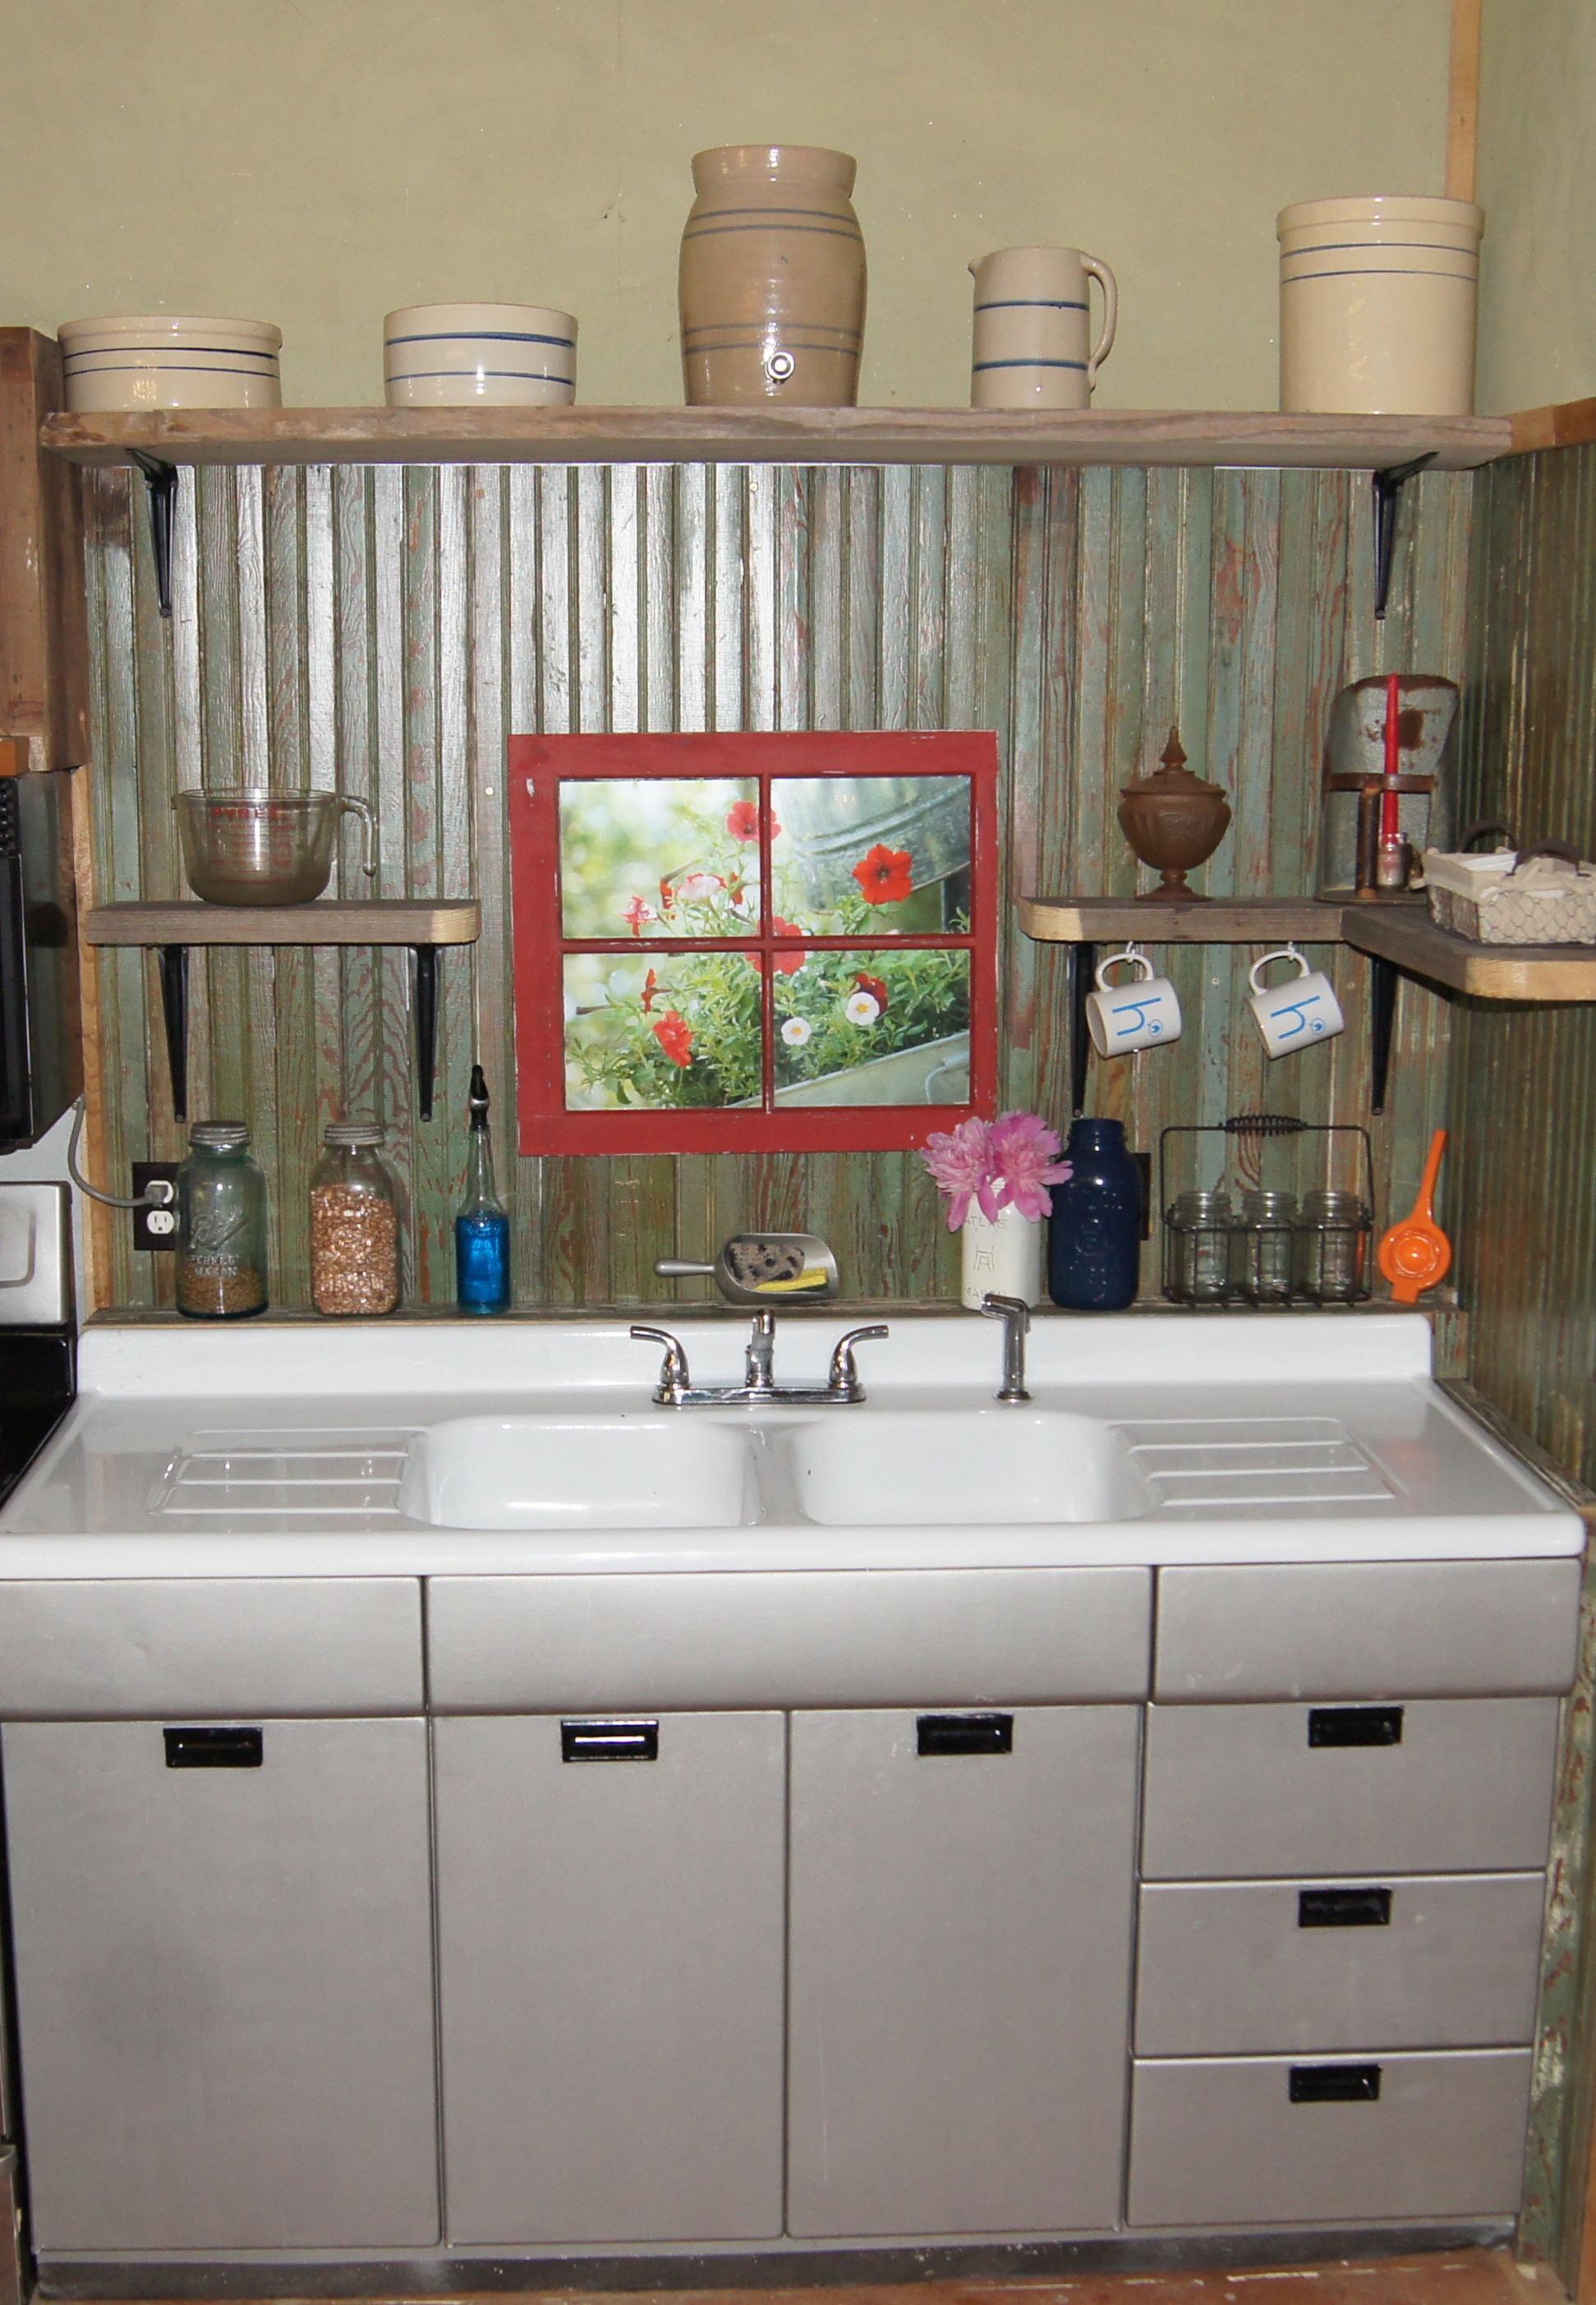
Our new-old Montgomery Wards kitchen cabinet that is approx. 67 years old
with the original cast iron porcelain sink, still in great shape:) It just needs a little
tender loving care!
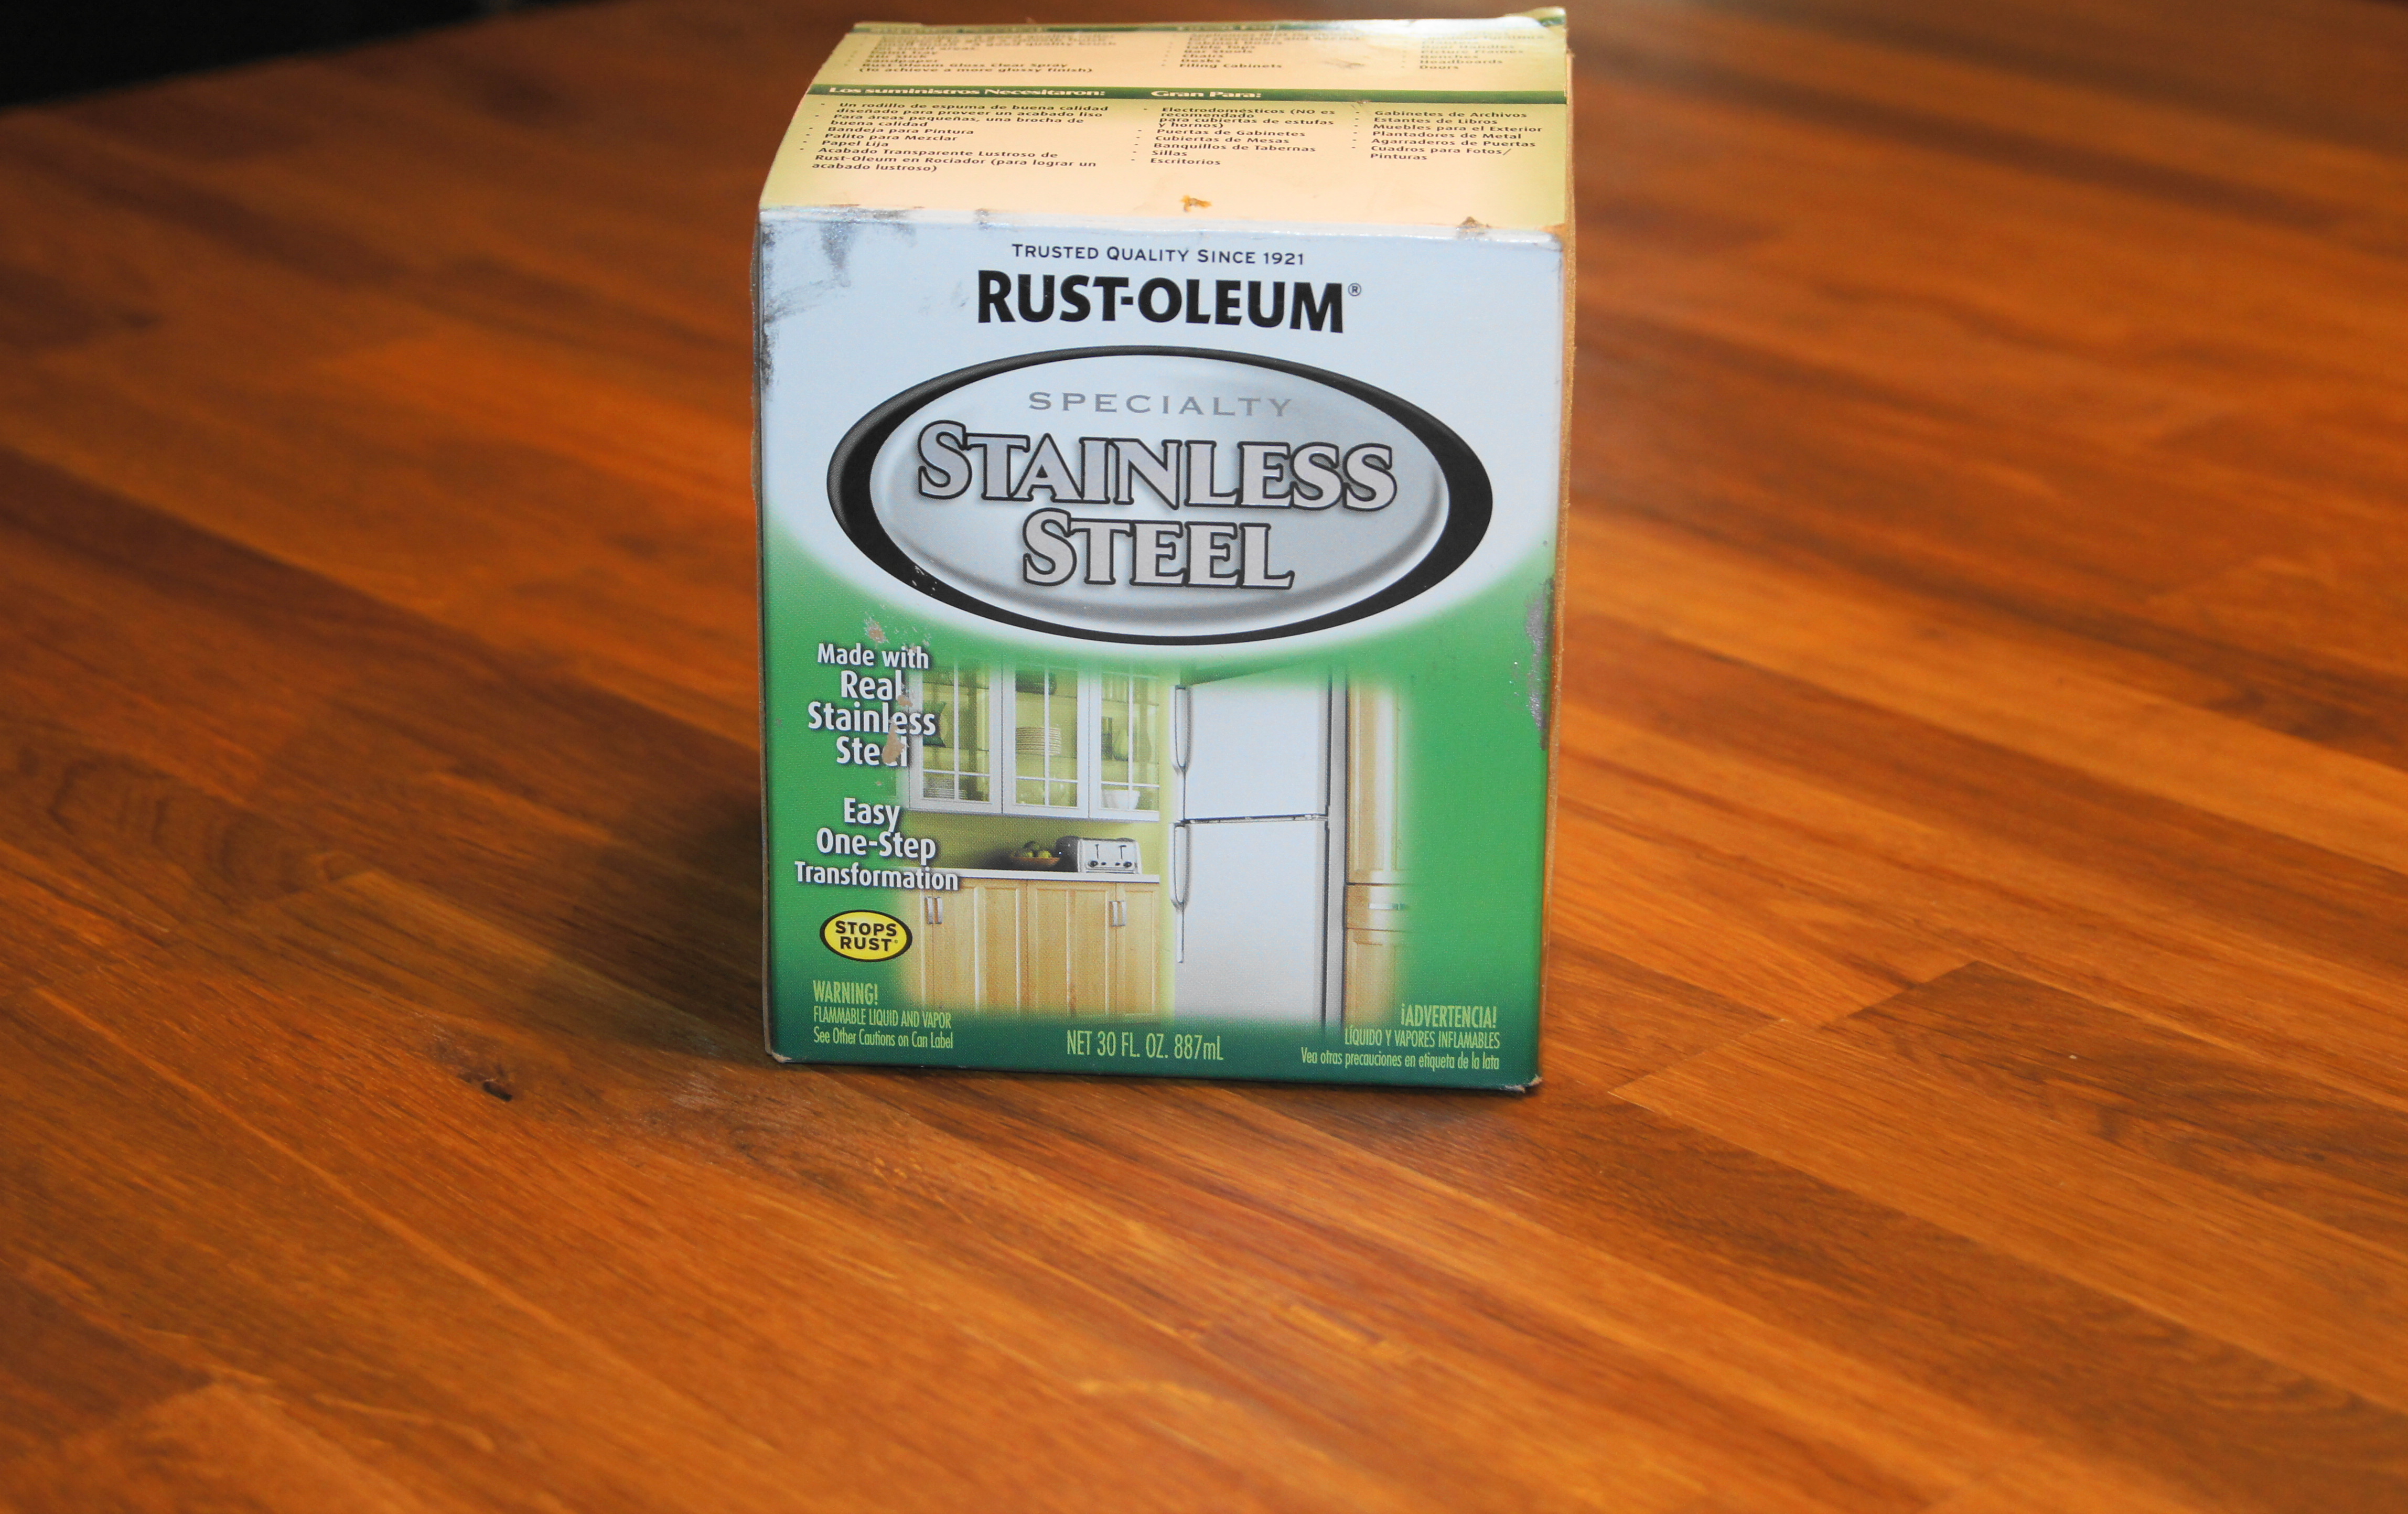
We again, used Rustoleum Stainless Steel Paint to redo our metal cabinet.
I love using the Rustoleum Stainless Steel Paint! It applies great, using
a four-inch foam roller.
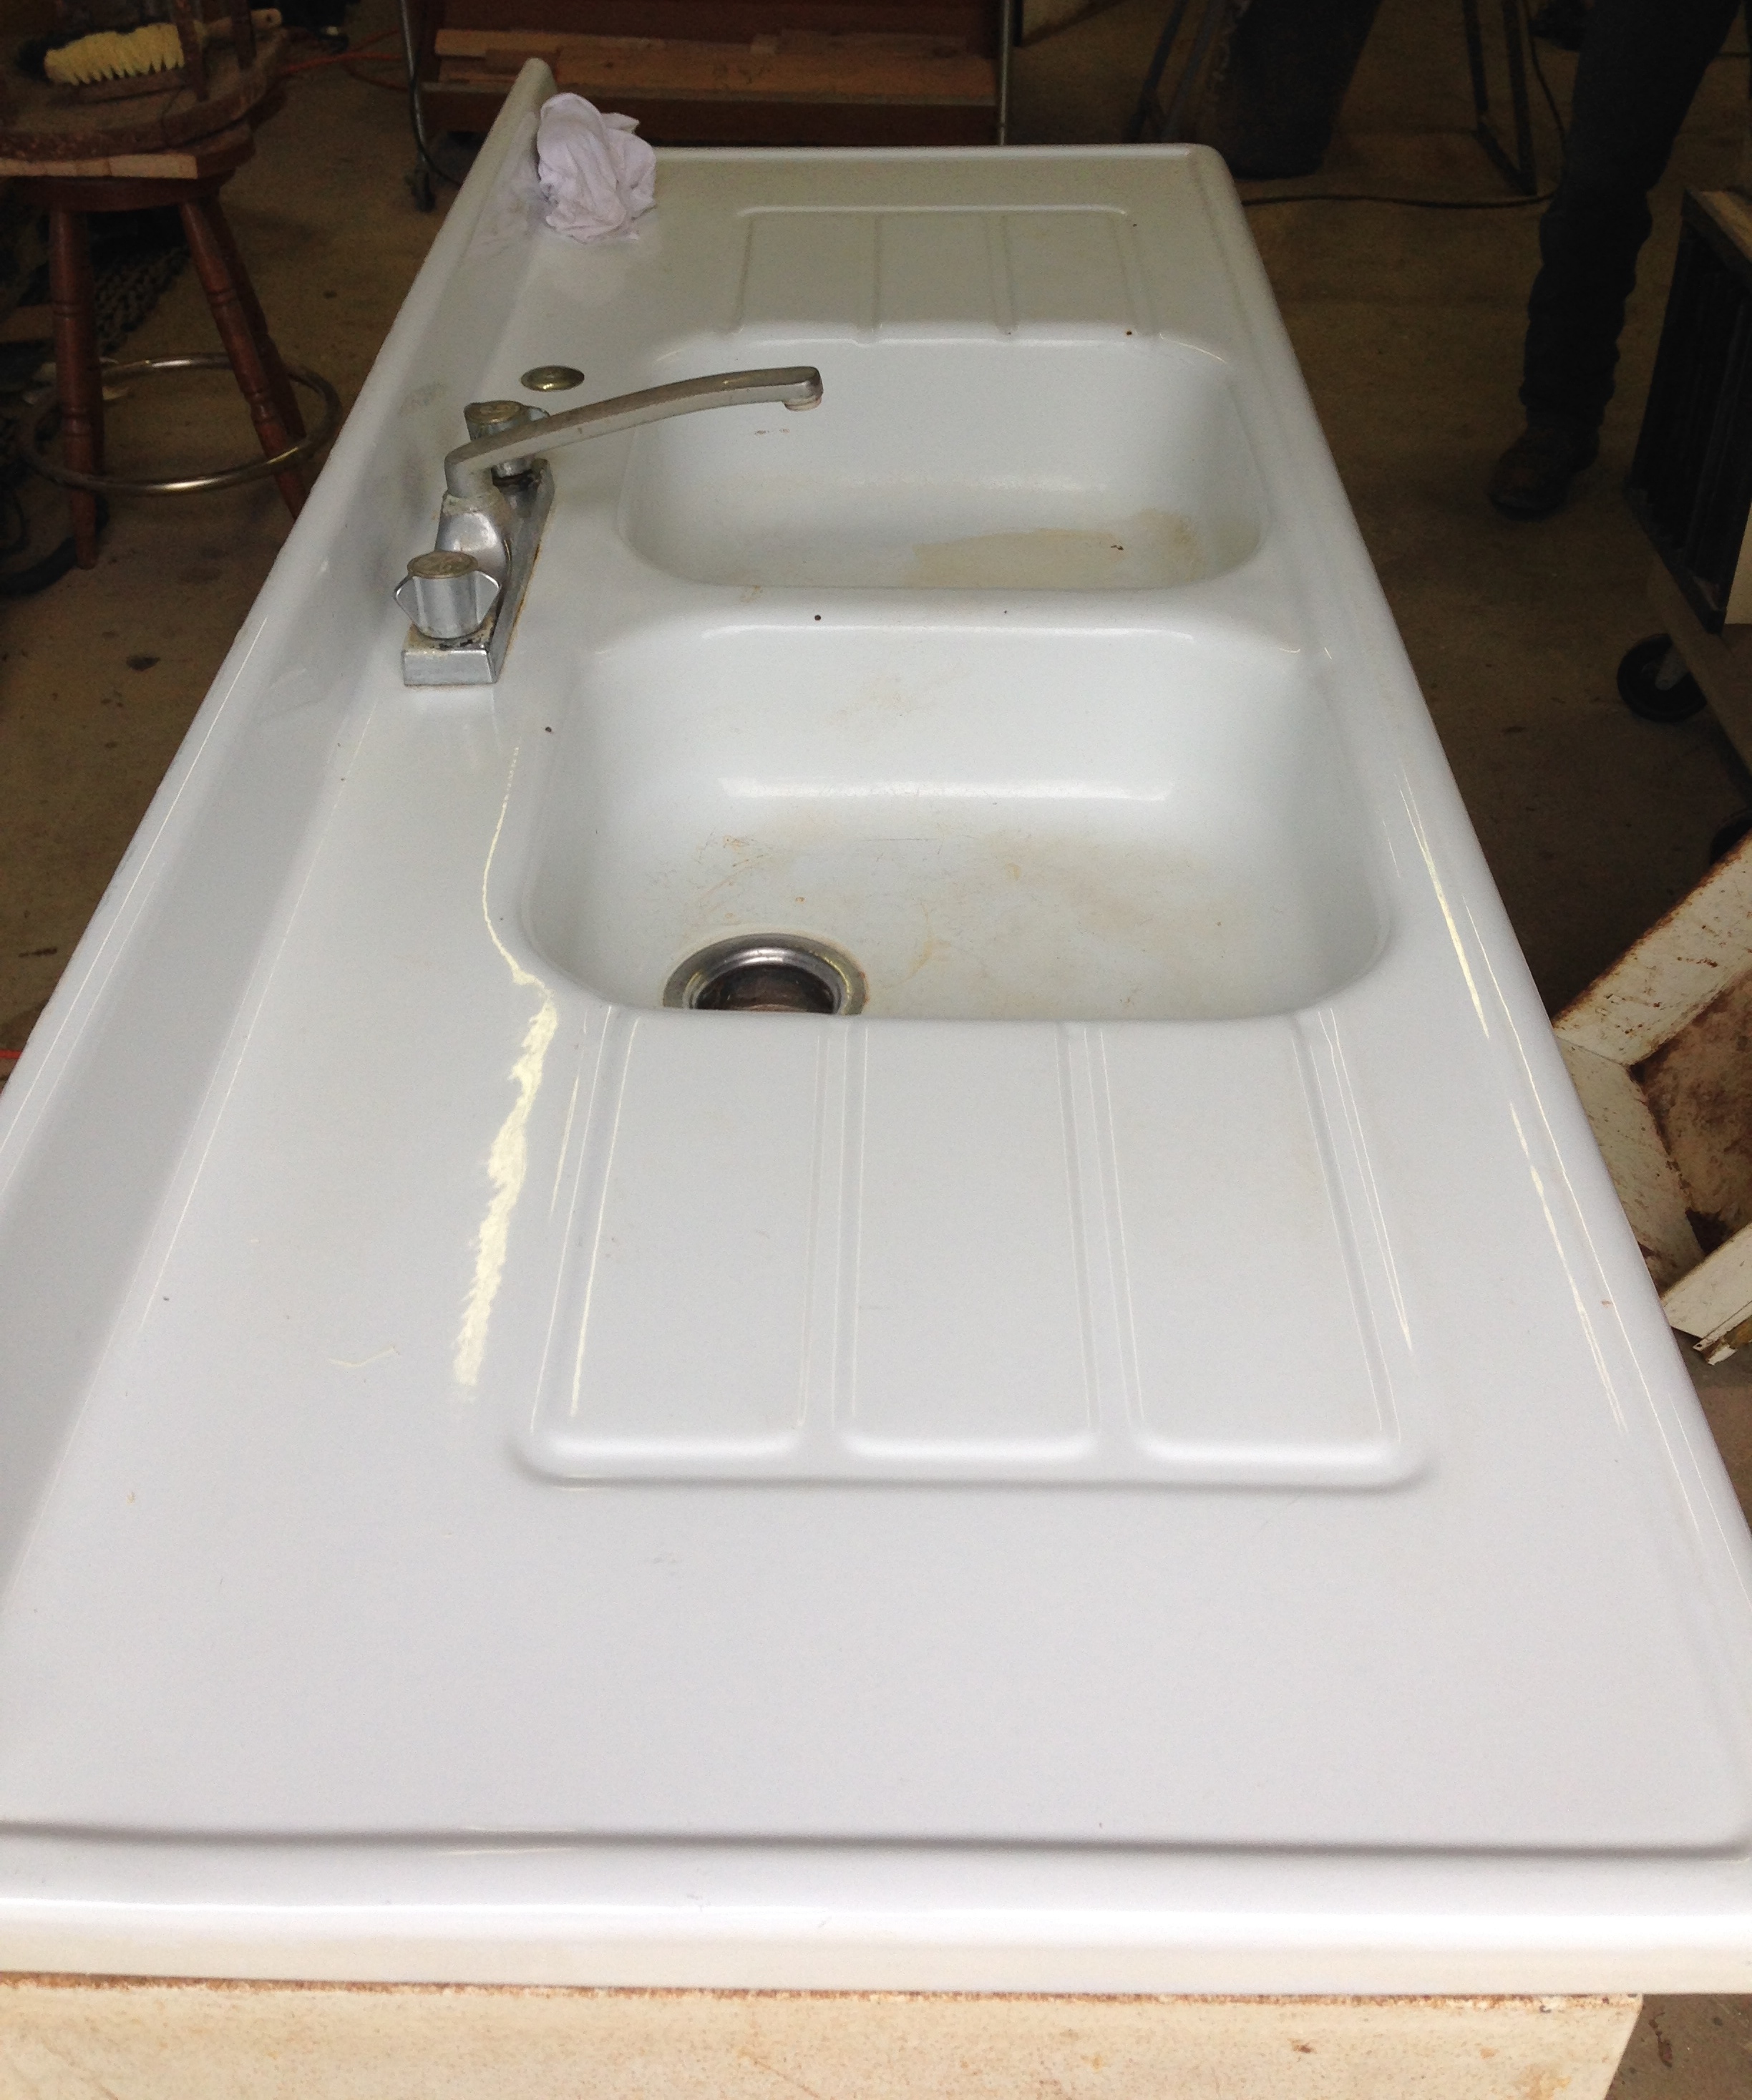
Original Porcelain sink on our Montgomery Wards Metal Cabinet

Montgomery Wards Metal Cabinet
Steve, installing the first of 4 shelves.
First of four shelves going up!
Metal cabinet with original porcelain sink.
There it is, our repurposed Montgomery Wards Metal Cabinet with the original
porcelain sink!
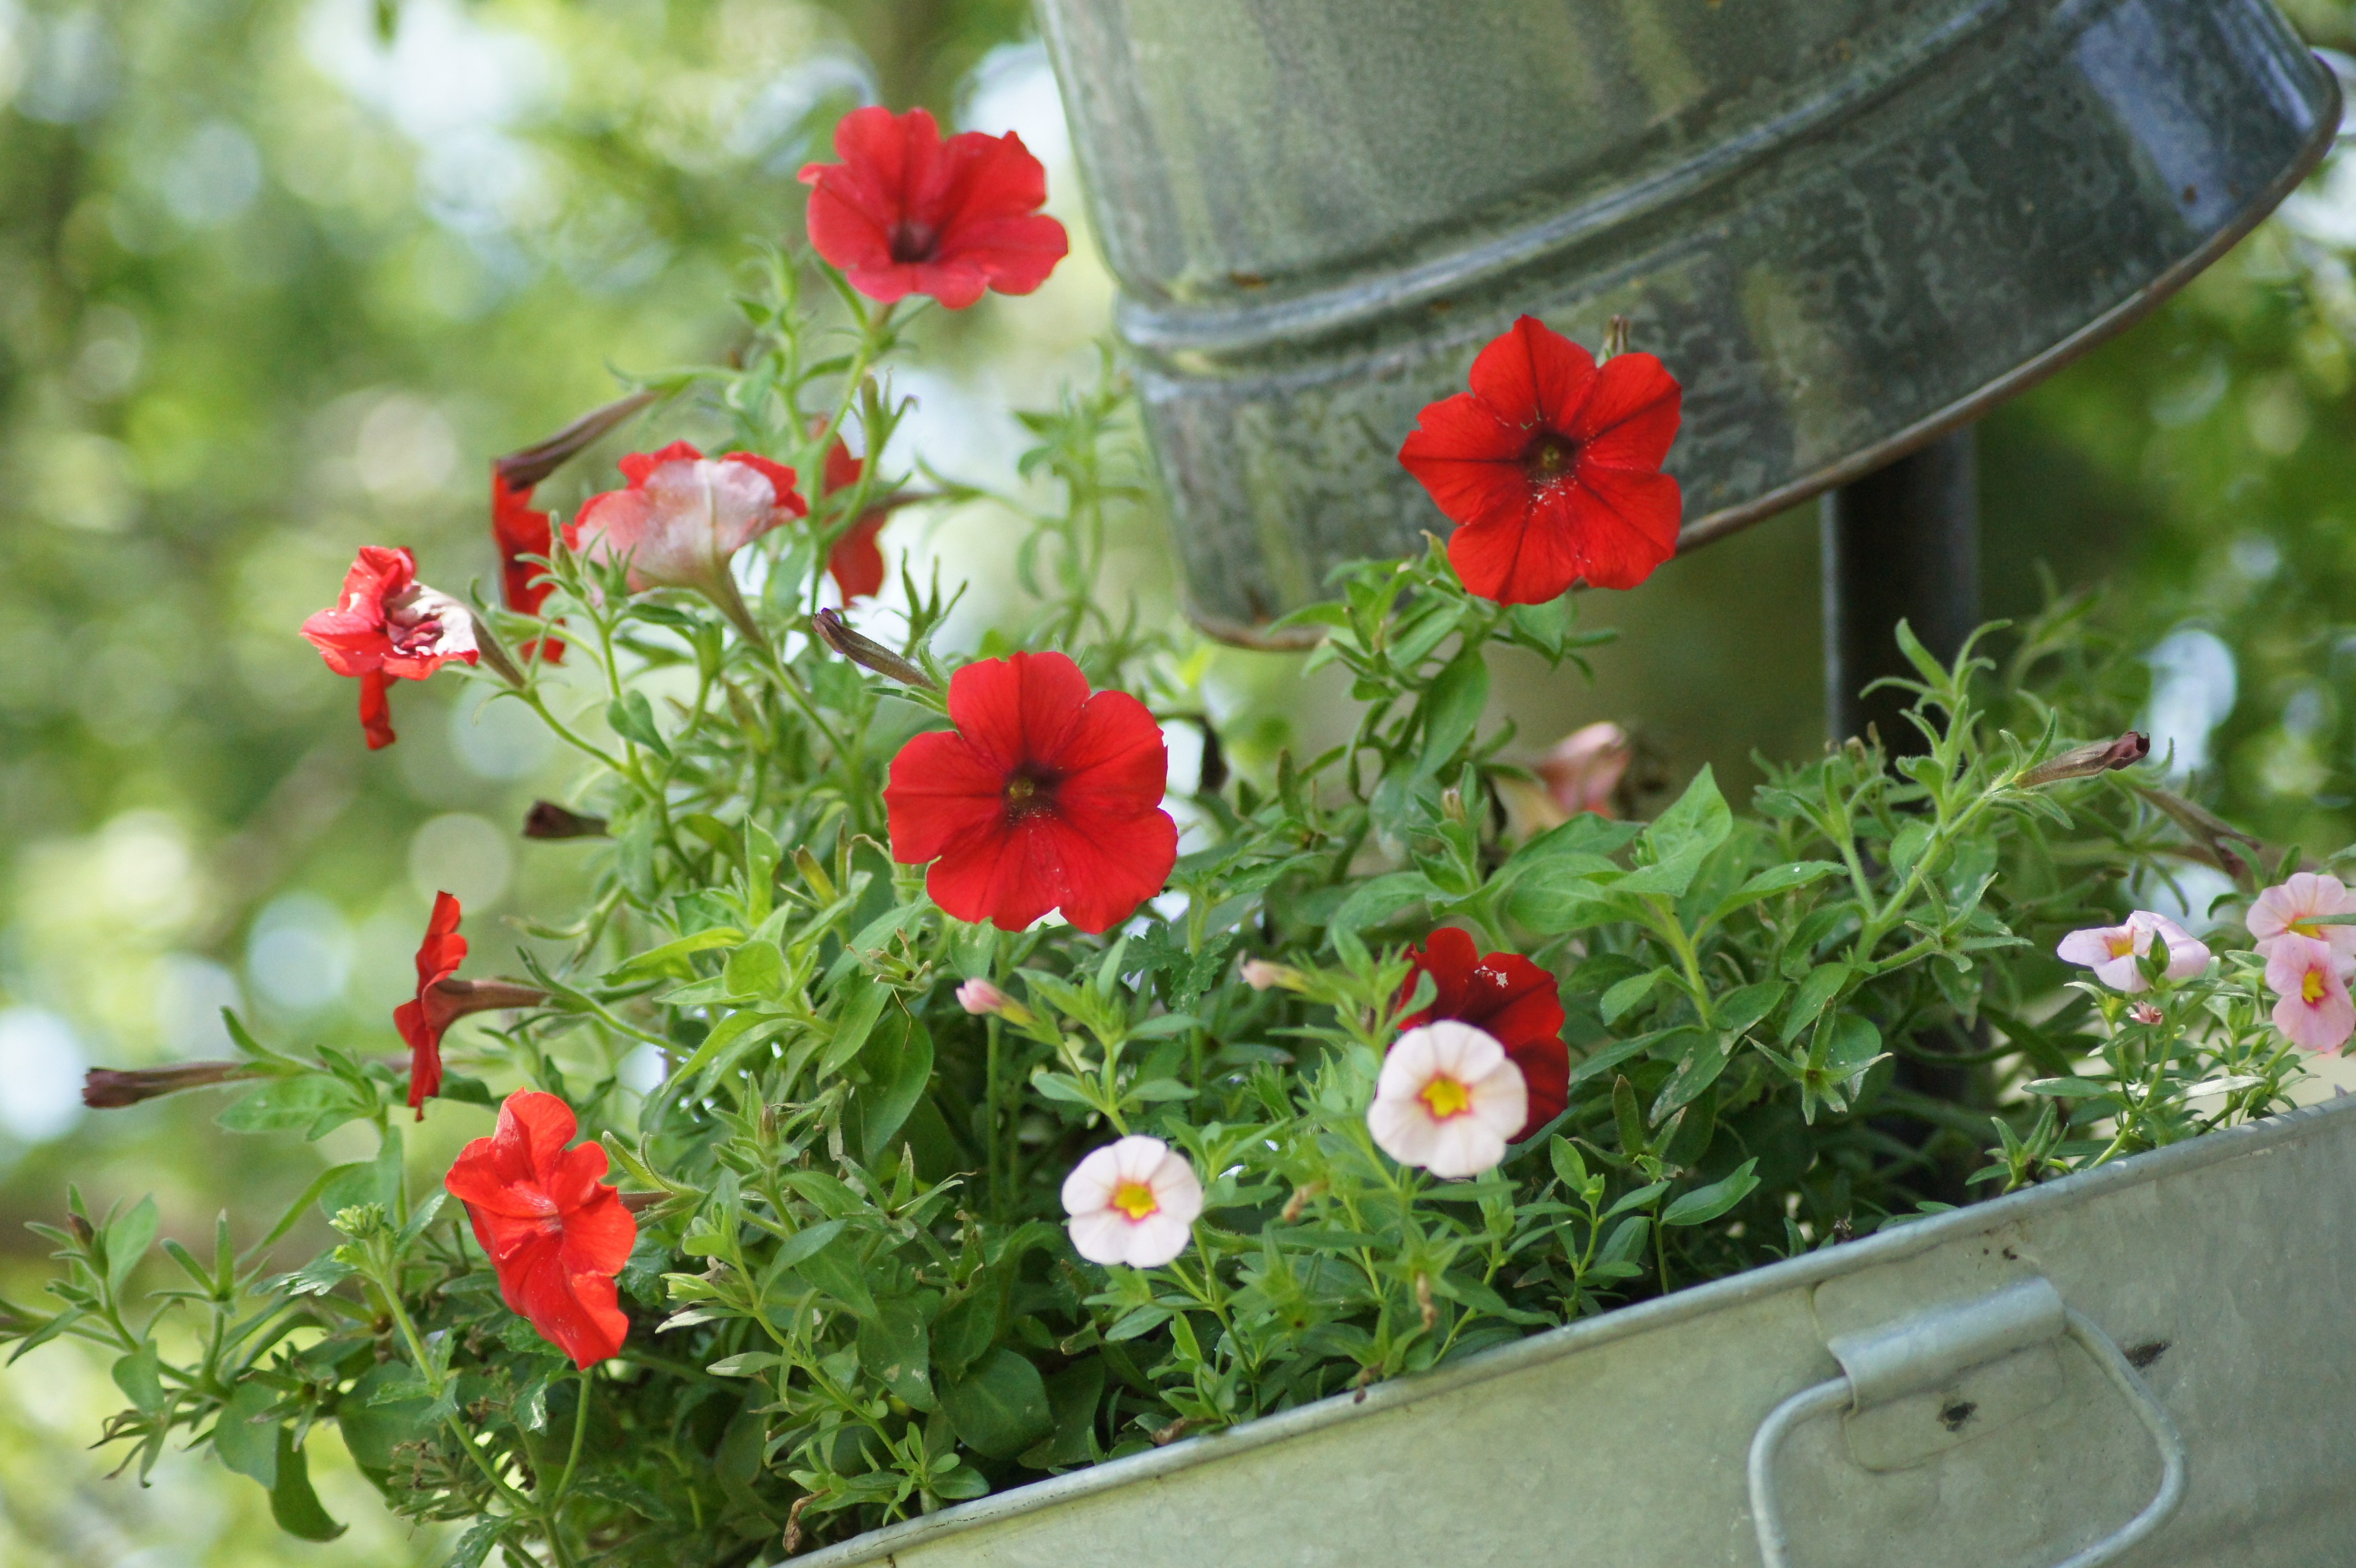
Flowers in Galvanized Buckets
We don’t have a window over my sink yet, so I decided to take a picture of my
flowers that I having growing in a couple of galvanized buckets that we have
mounted on a pole. I loved the metal and color of the flowers. Then, I just put the
photo on the back of the window and we placed it, where our future window
will go:)
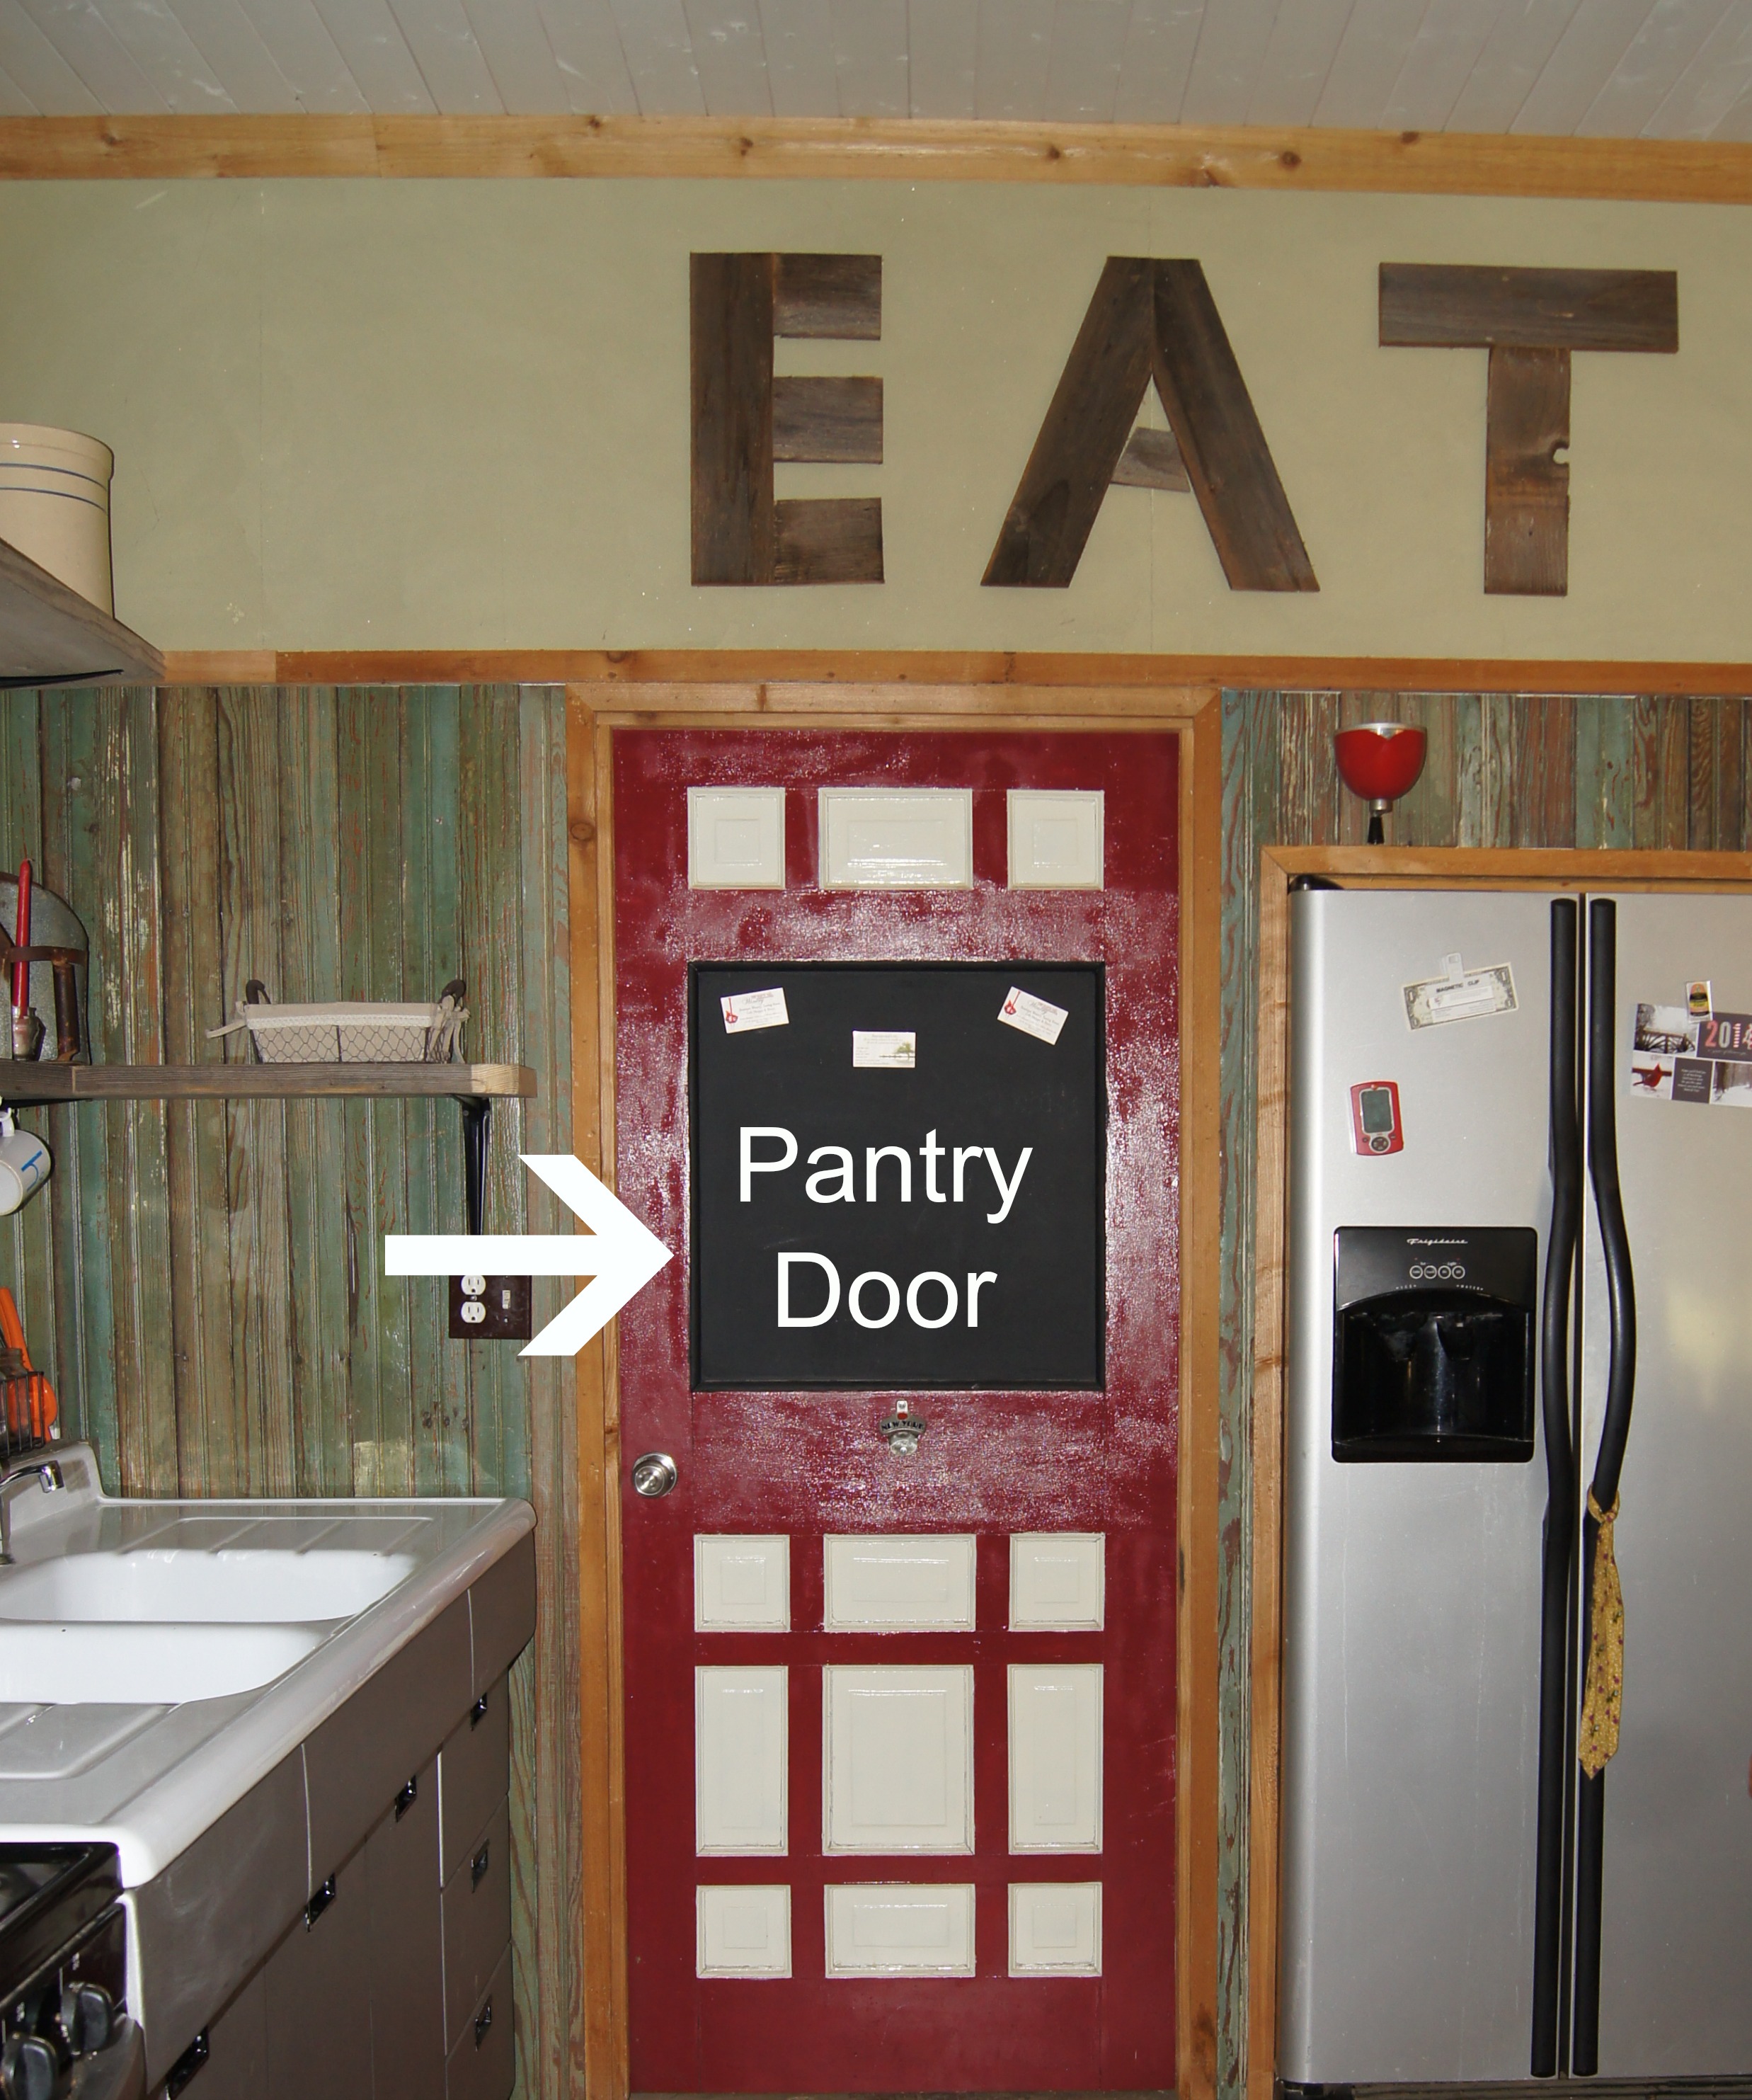
Pantry Door
The lack of conventional cabinets is possible because of what is behind this door! A pantry:)
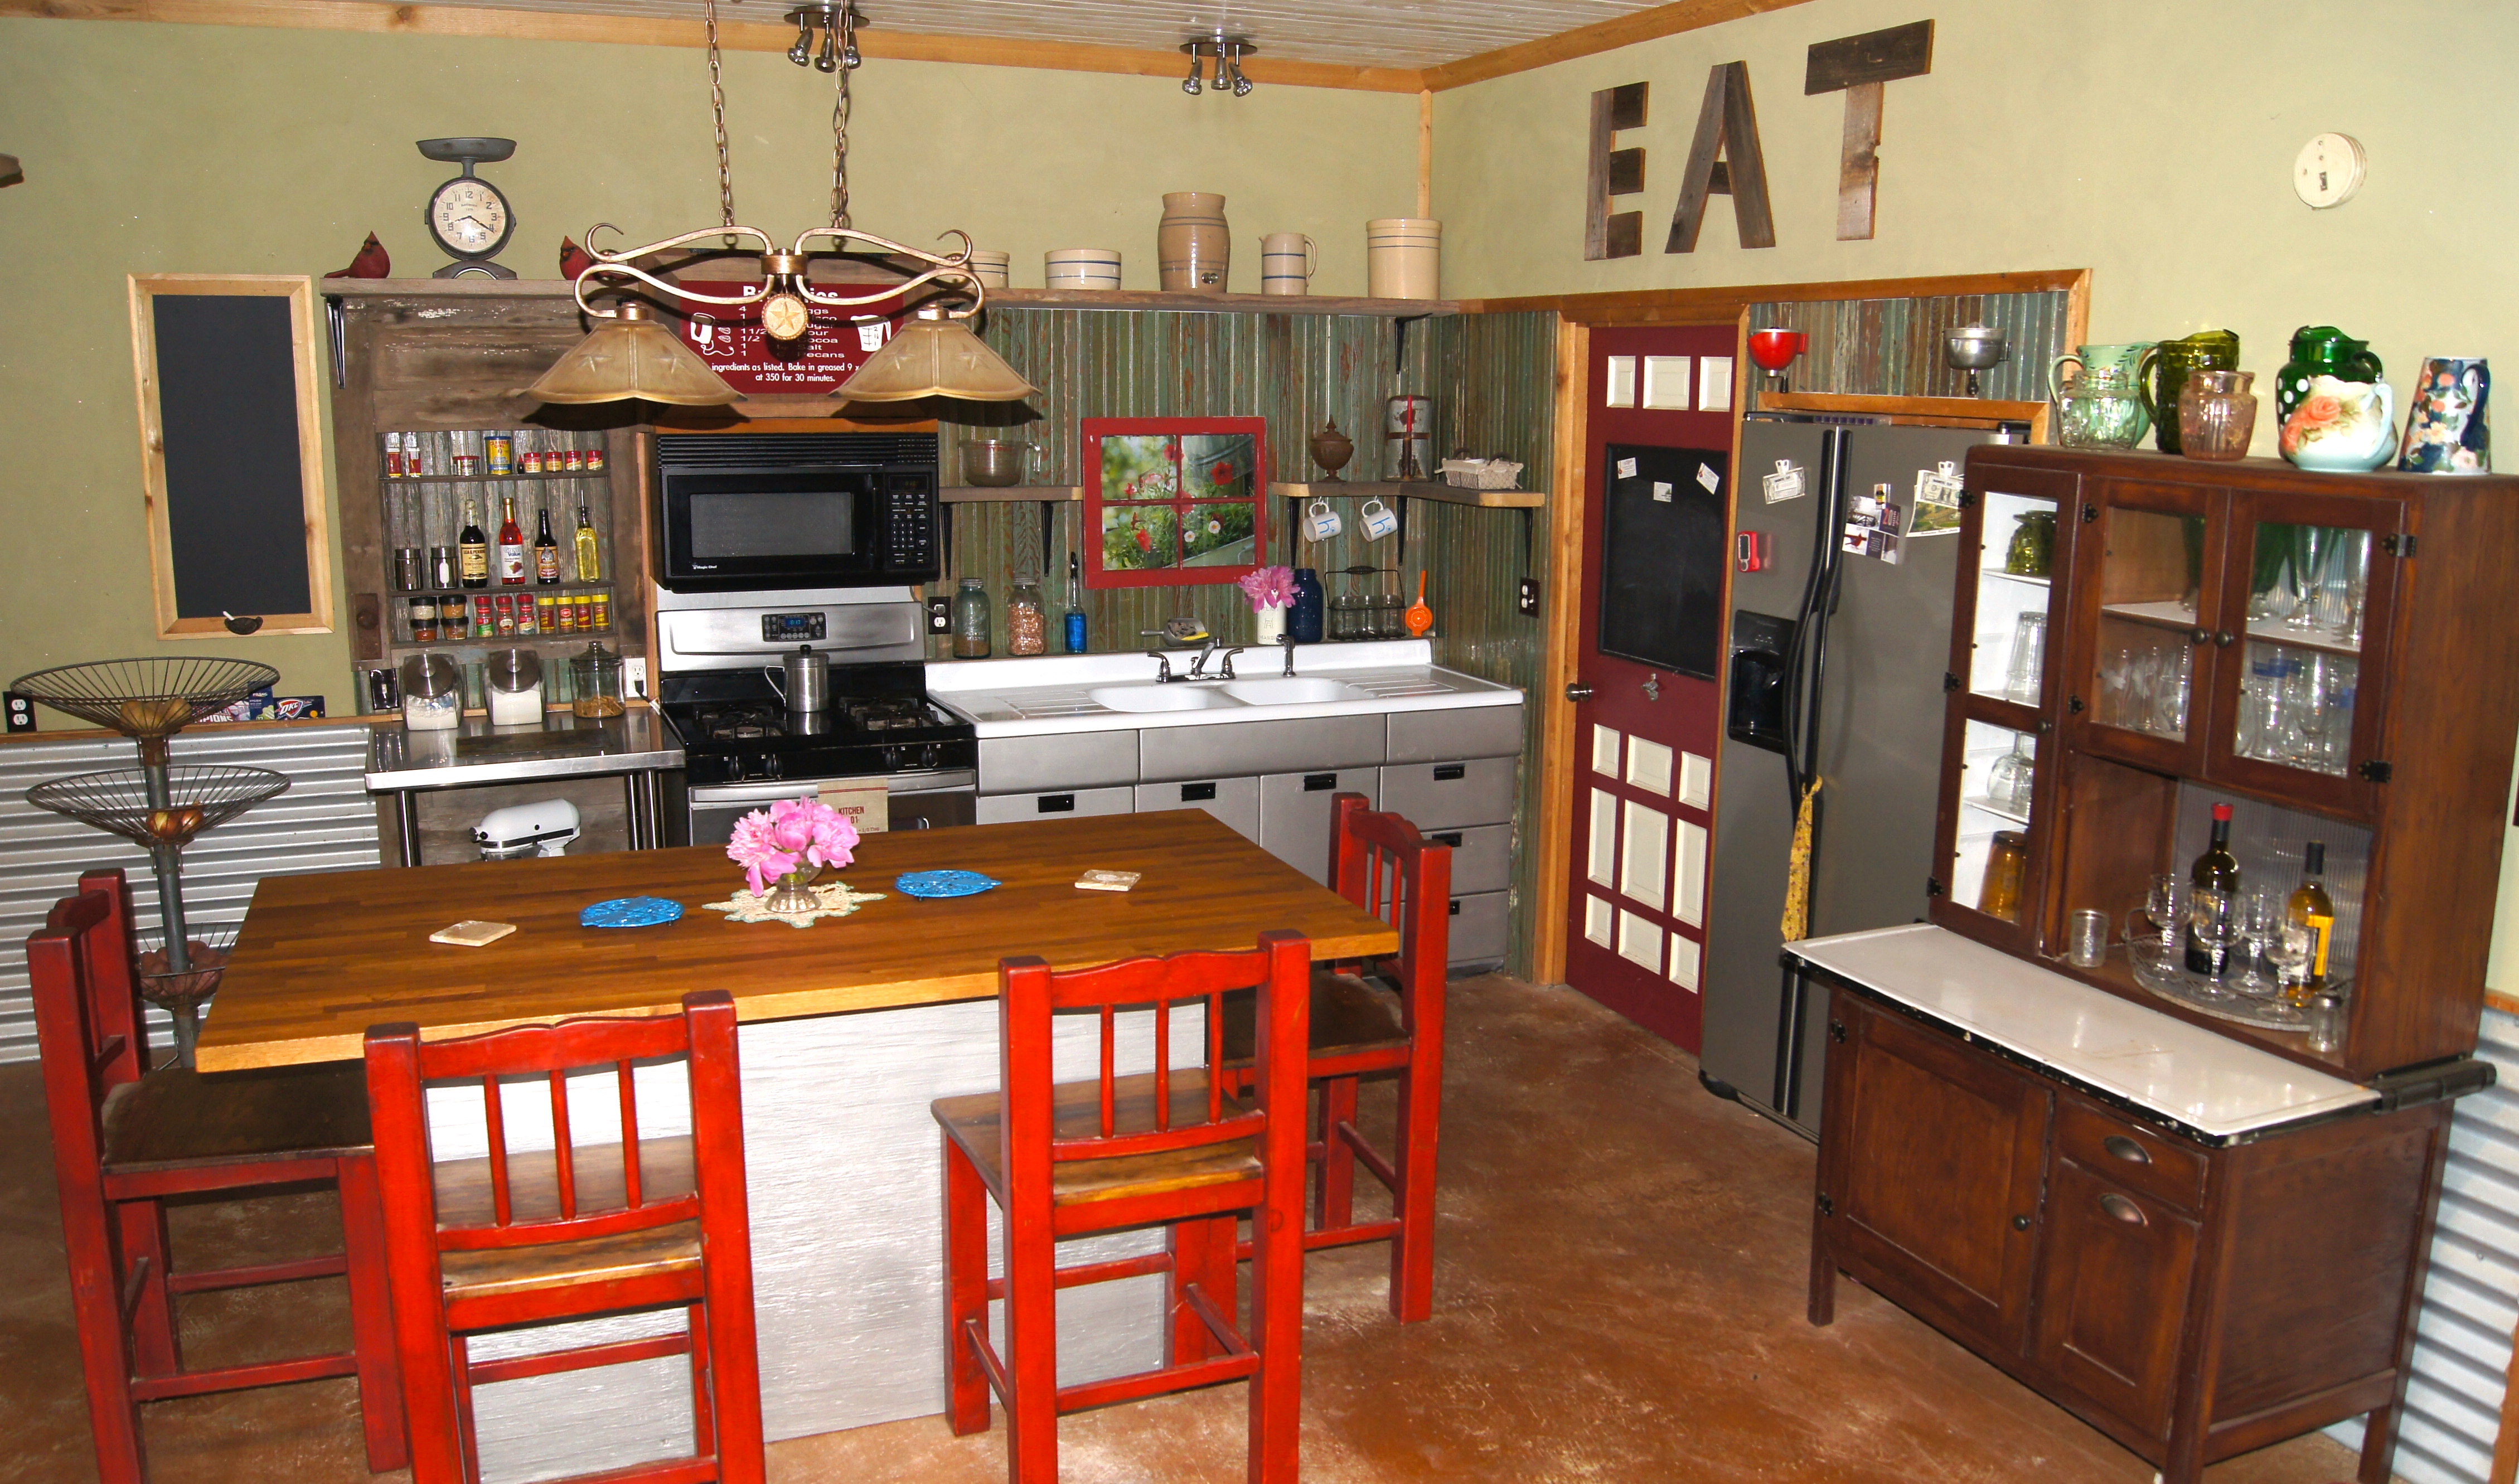
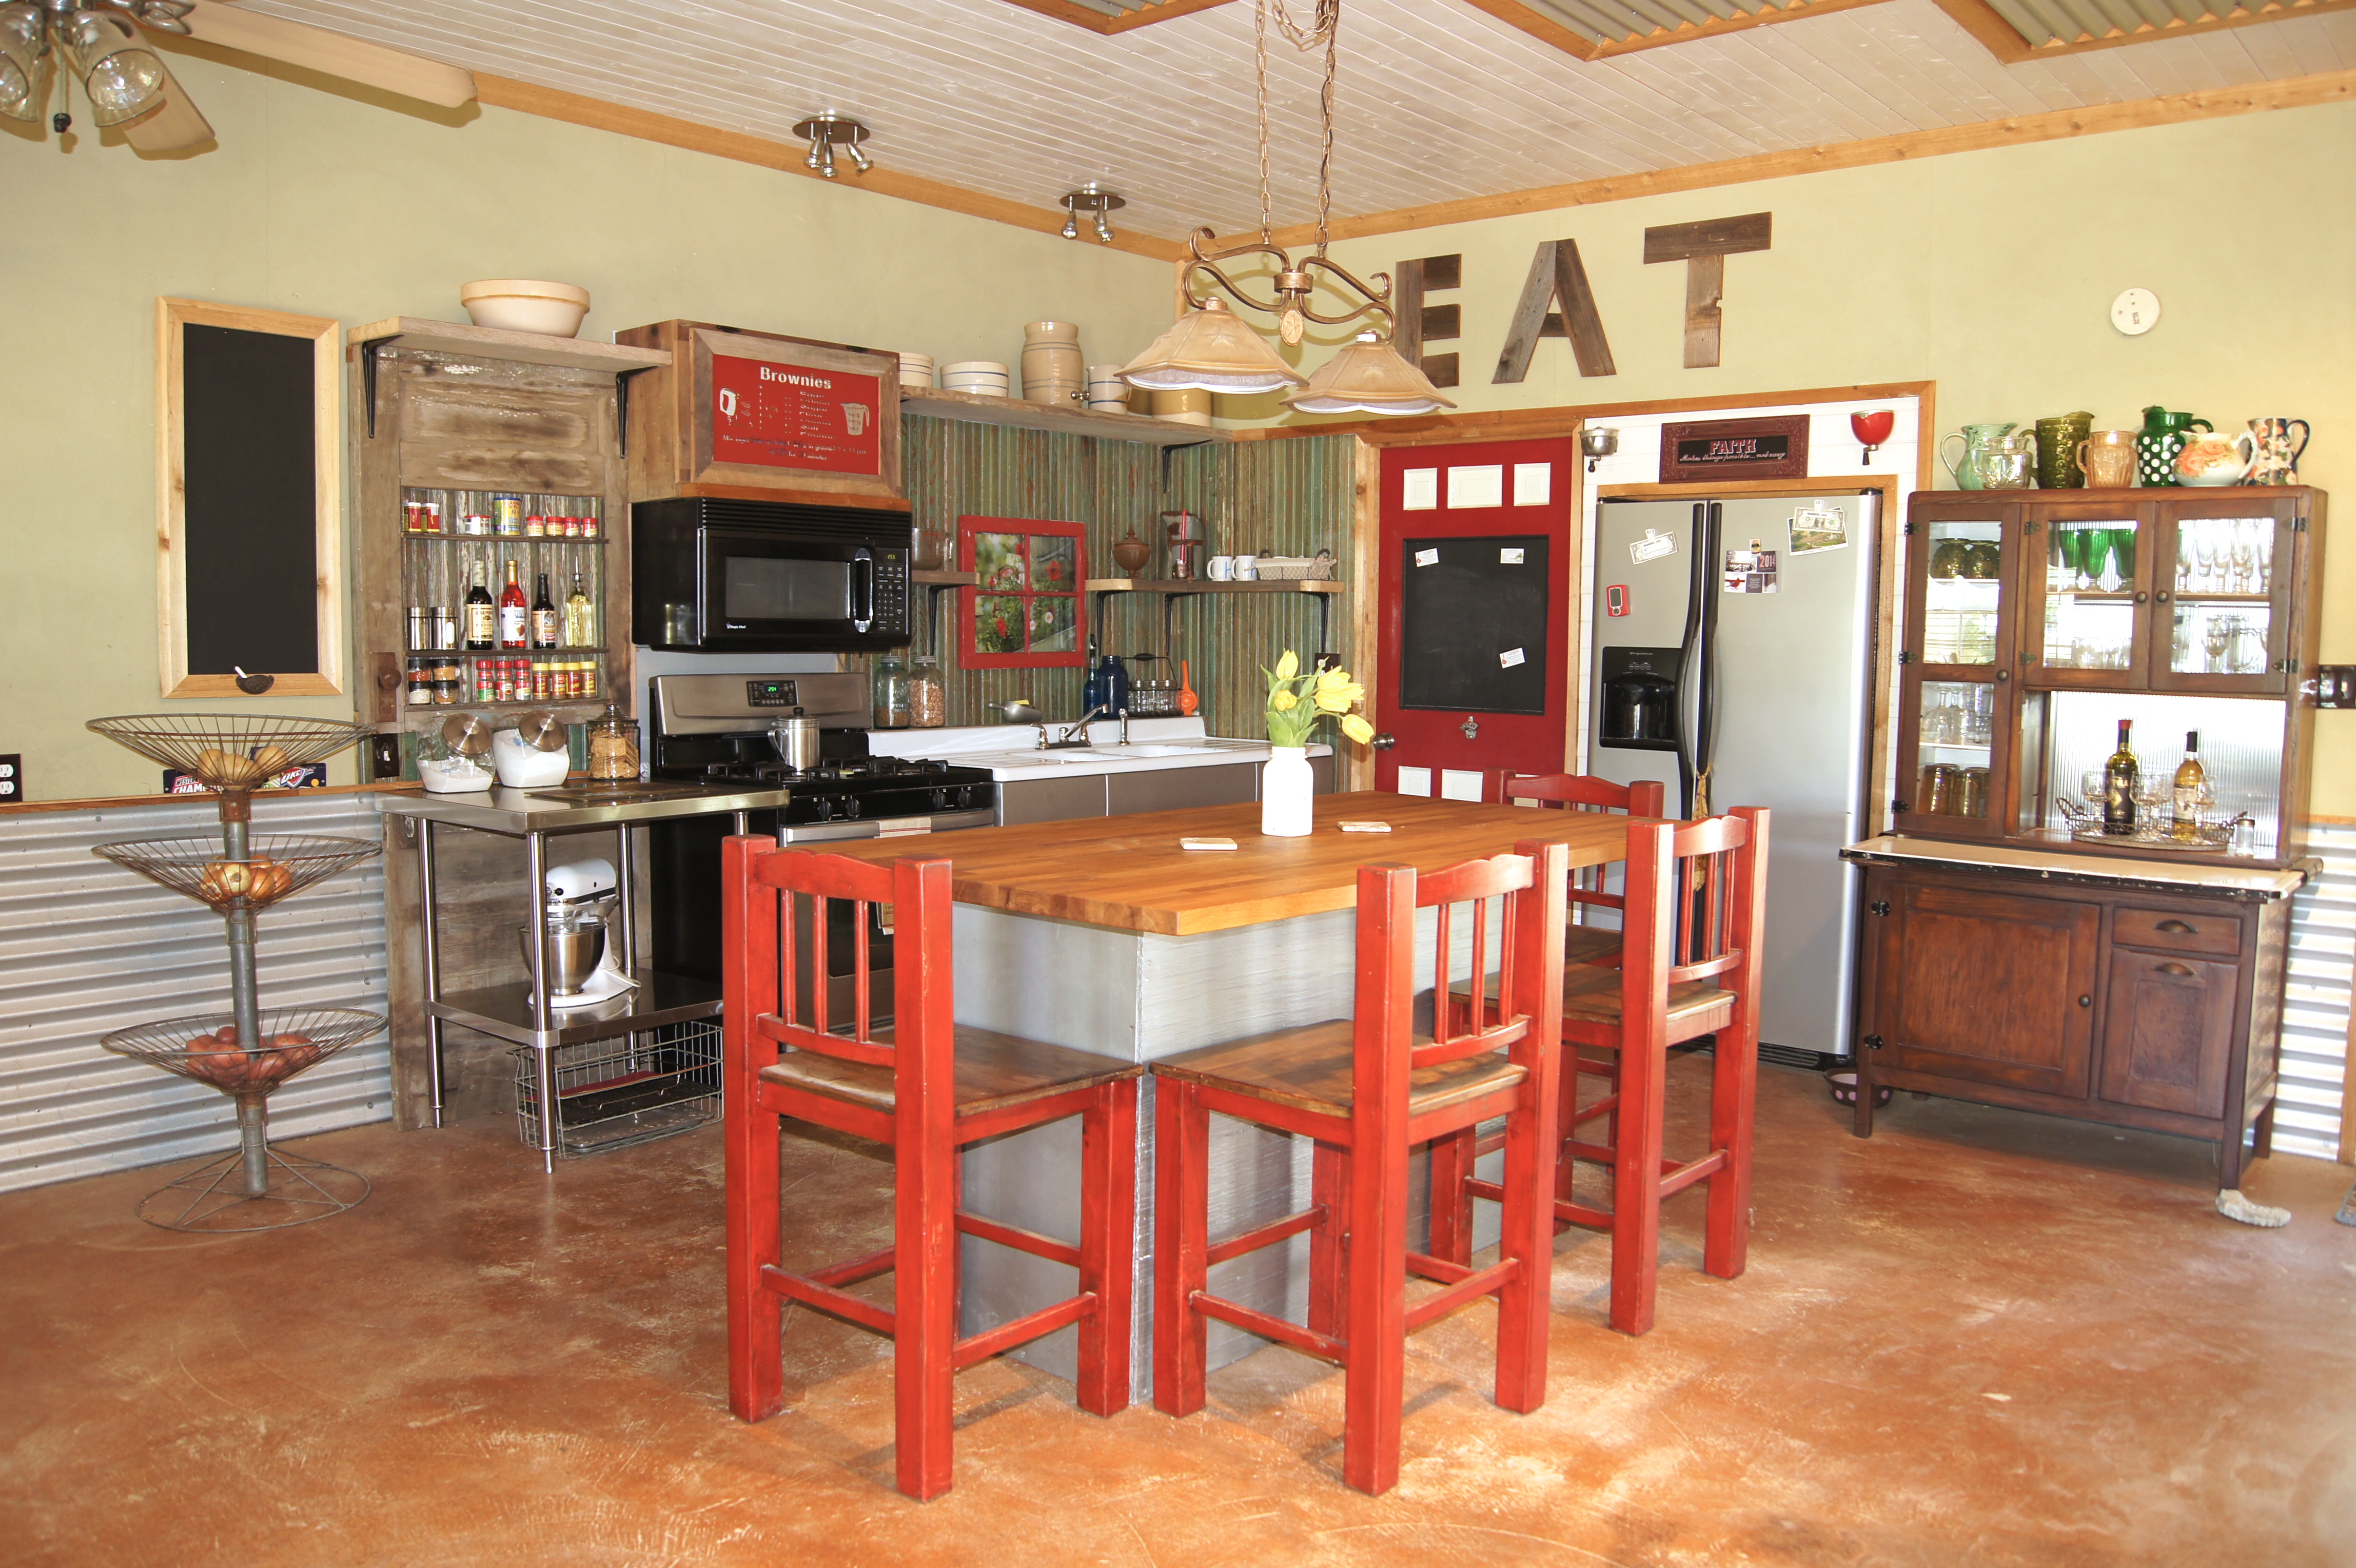
View of our kitchen makeover using all repurposed materials.
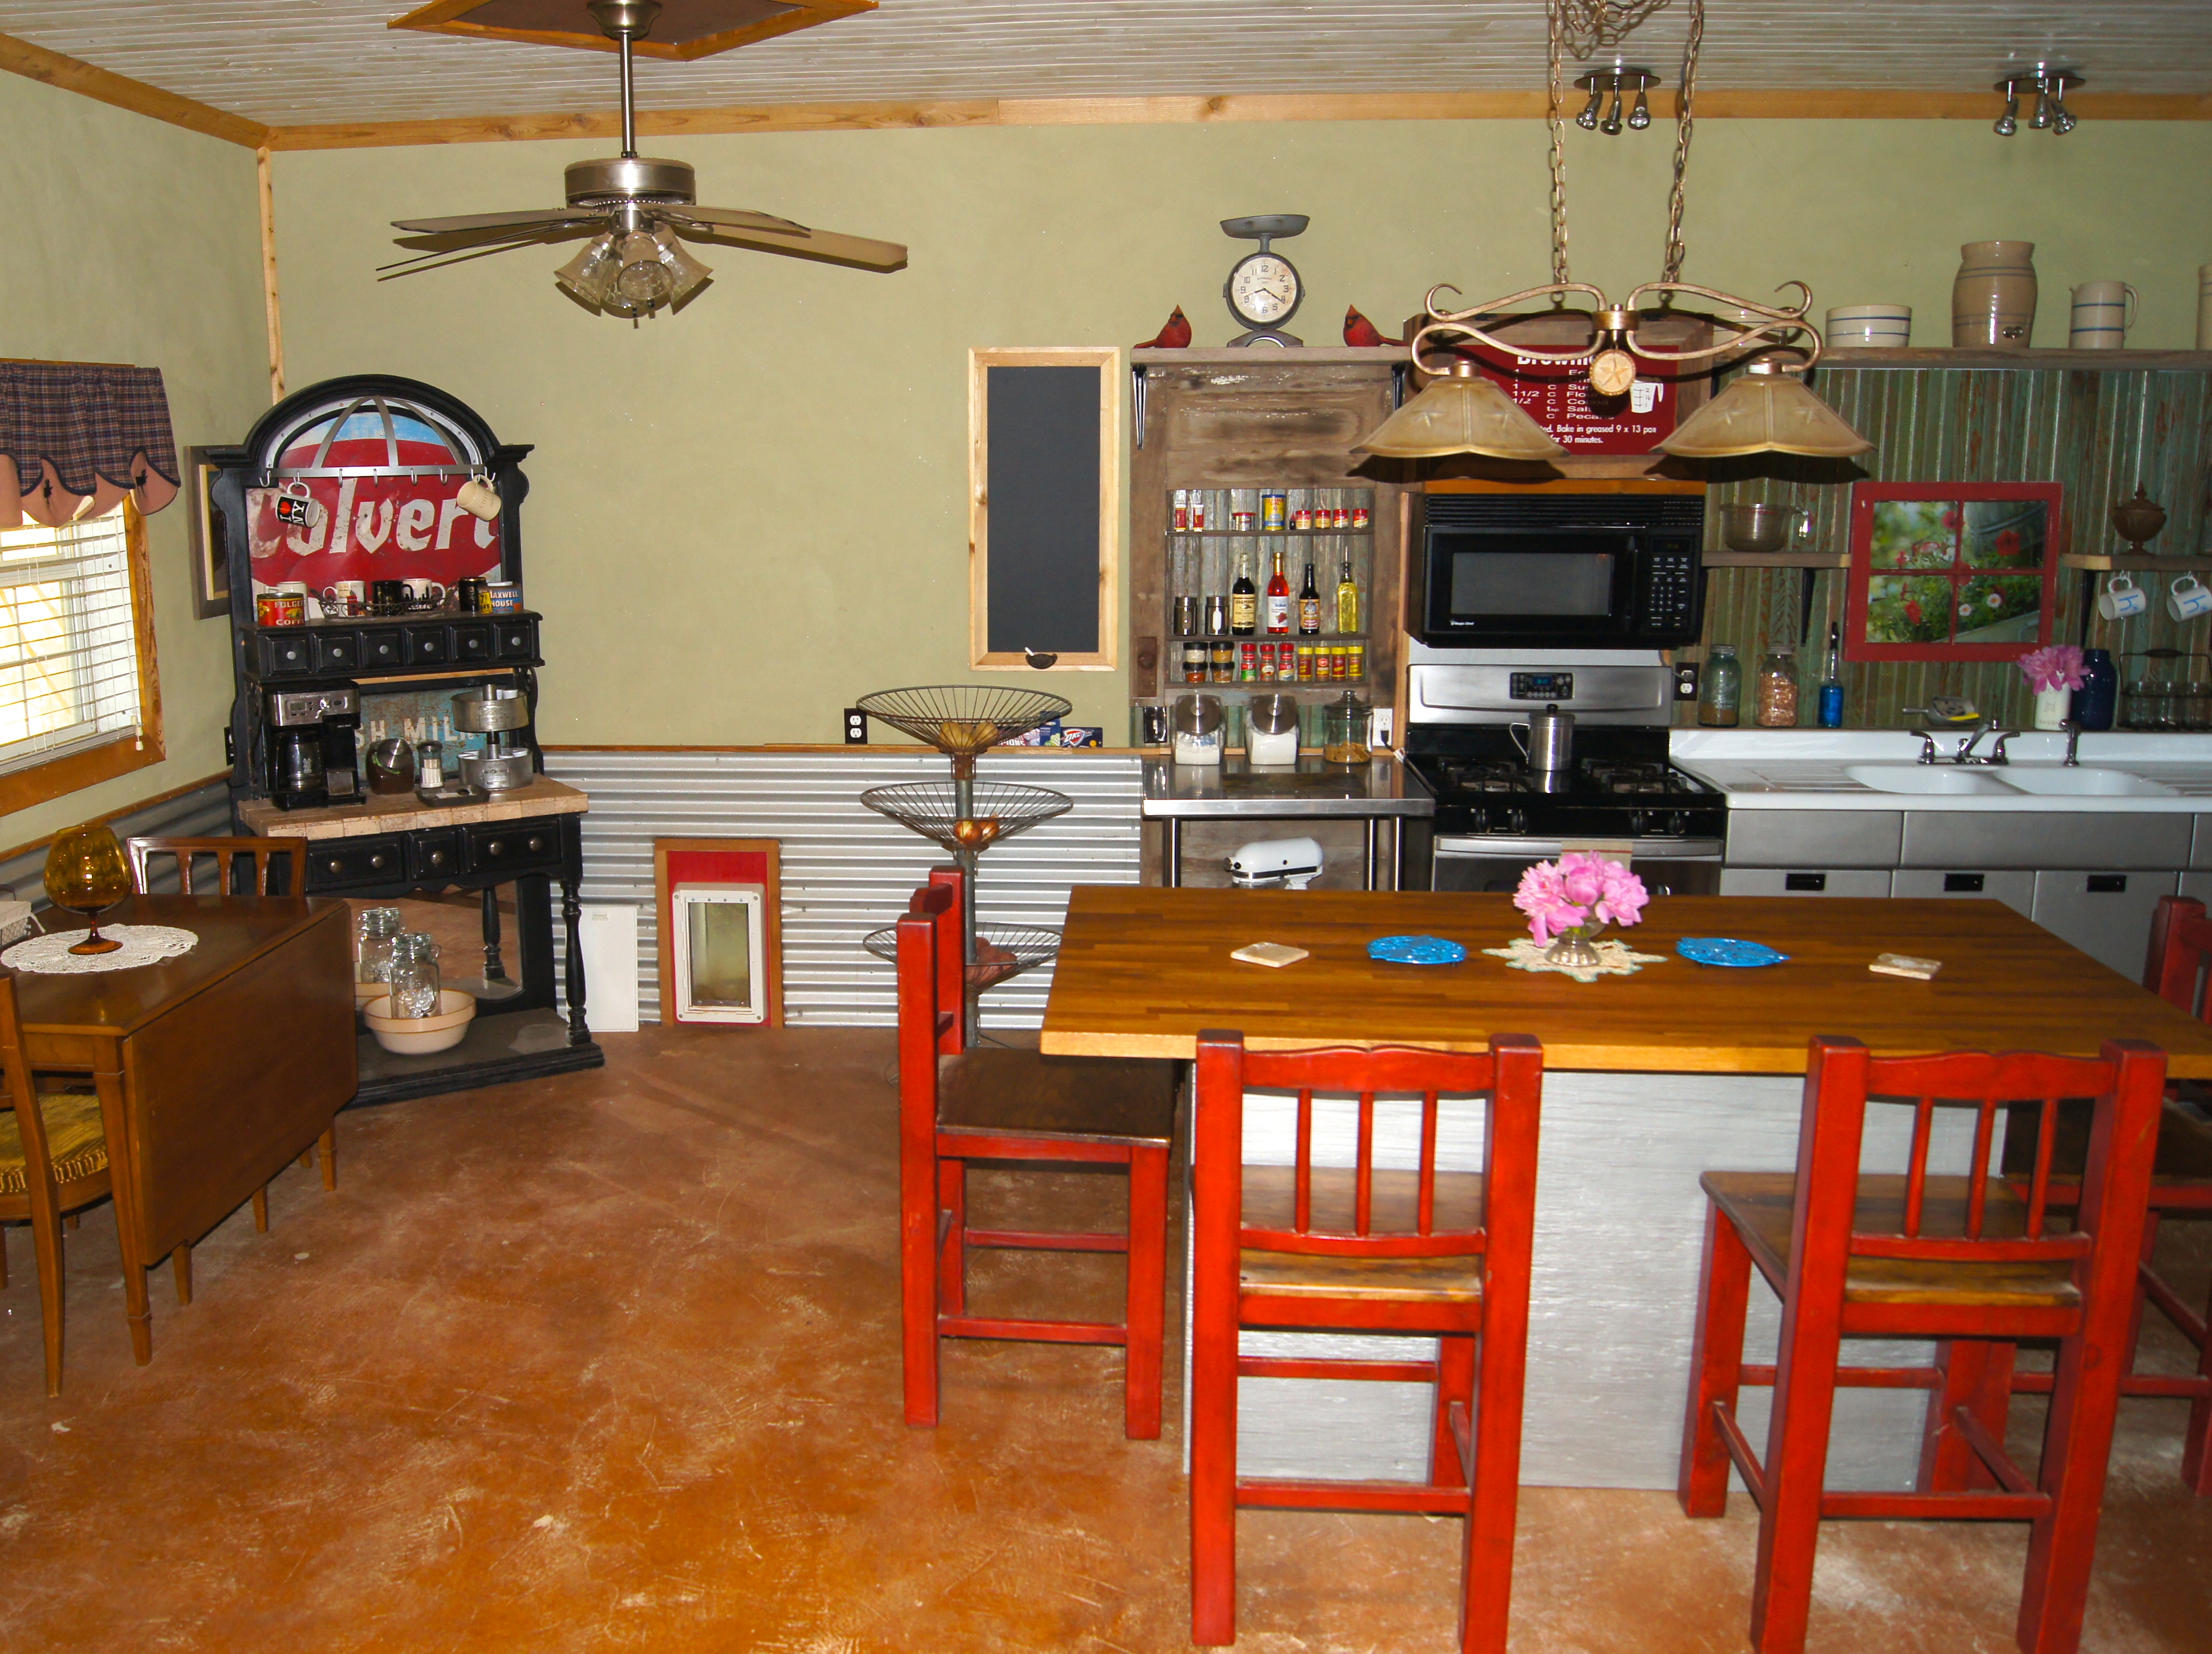
View of our kitchen makeover using all repurposed materials.
Our rustic kitchen with open shelves and metal cabinet.
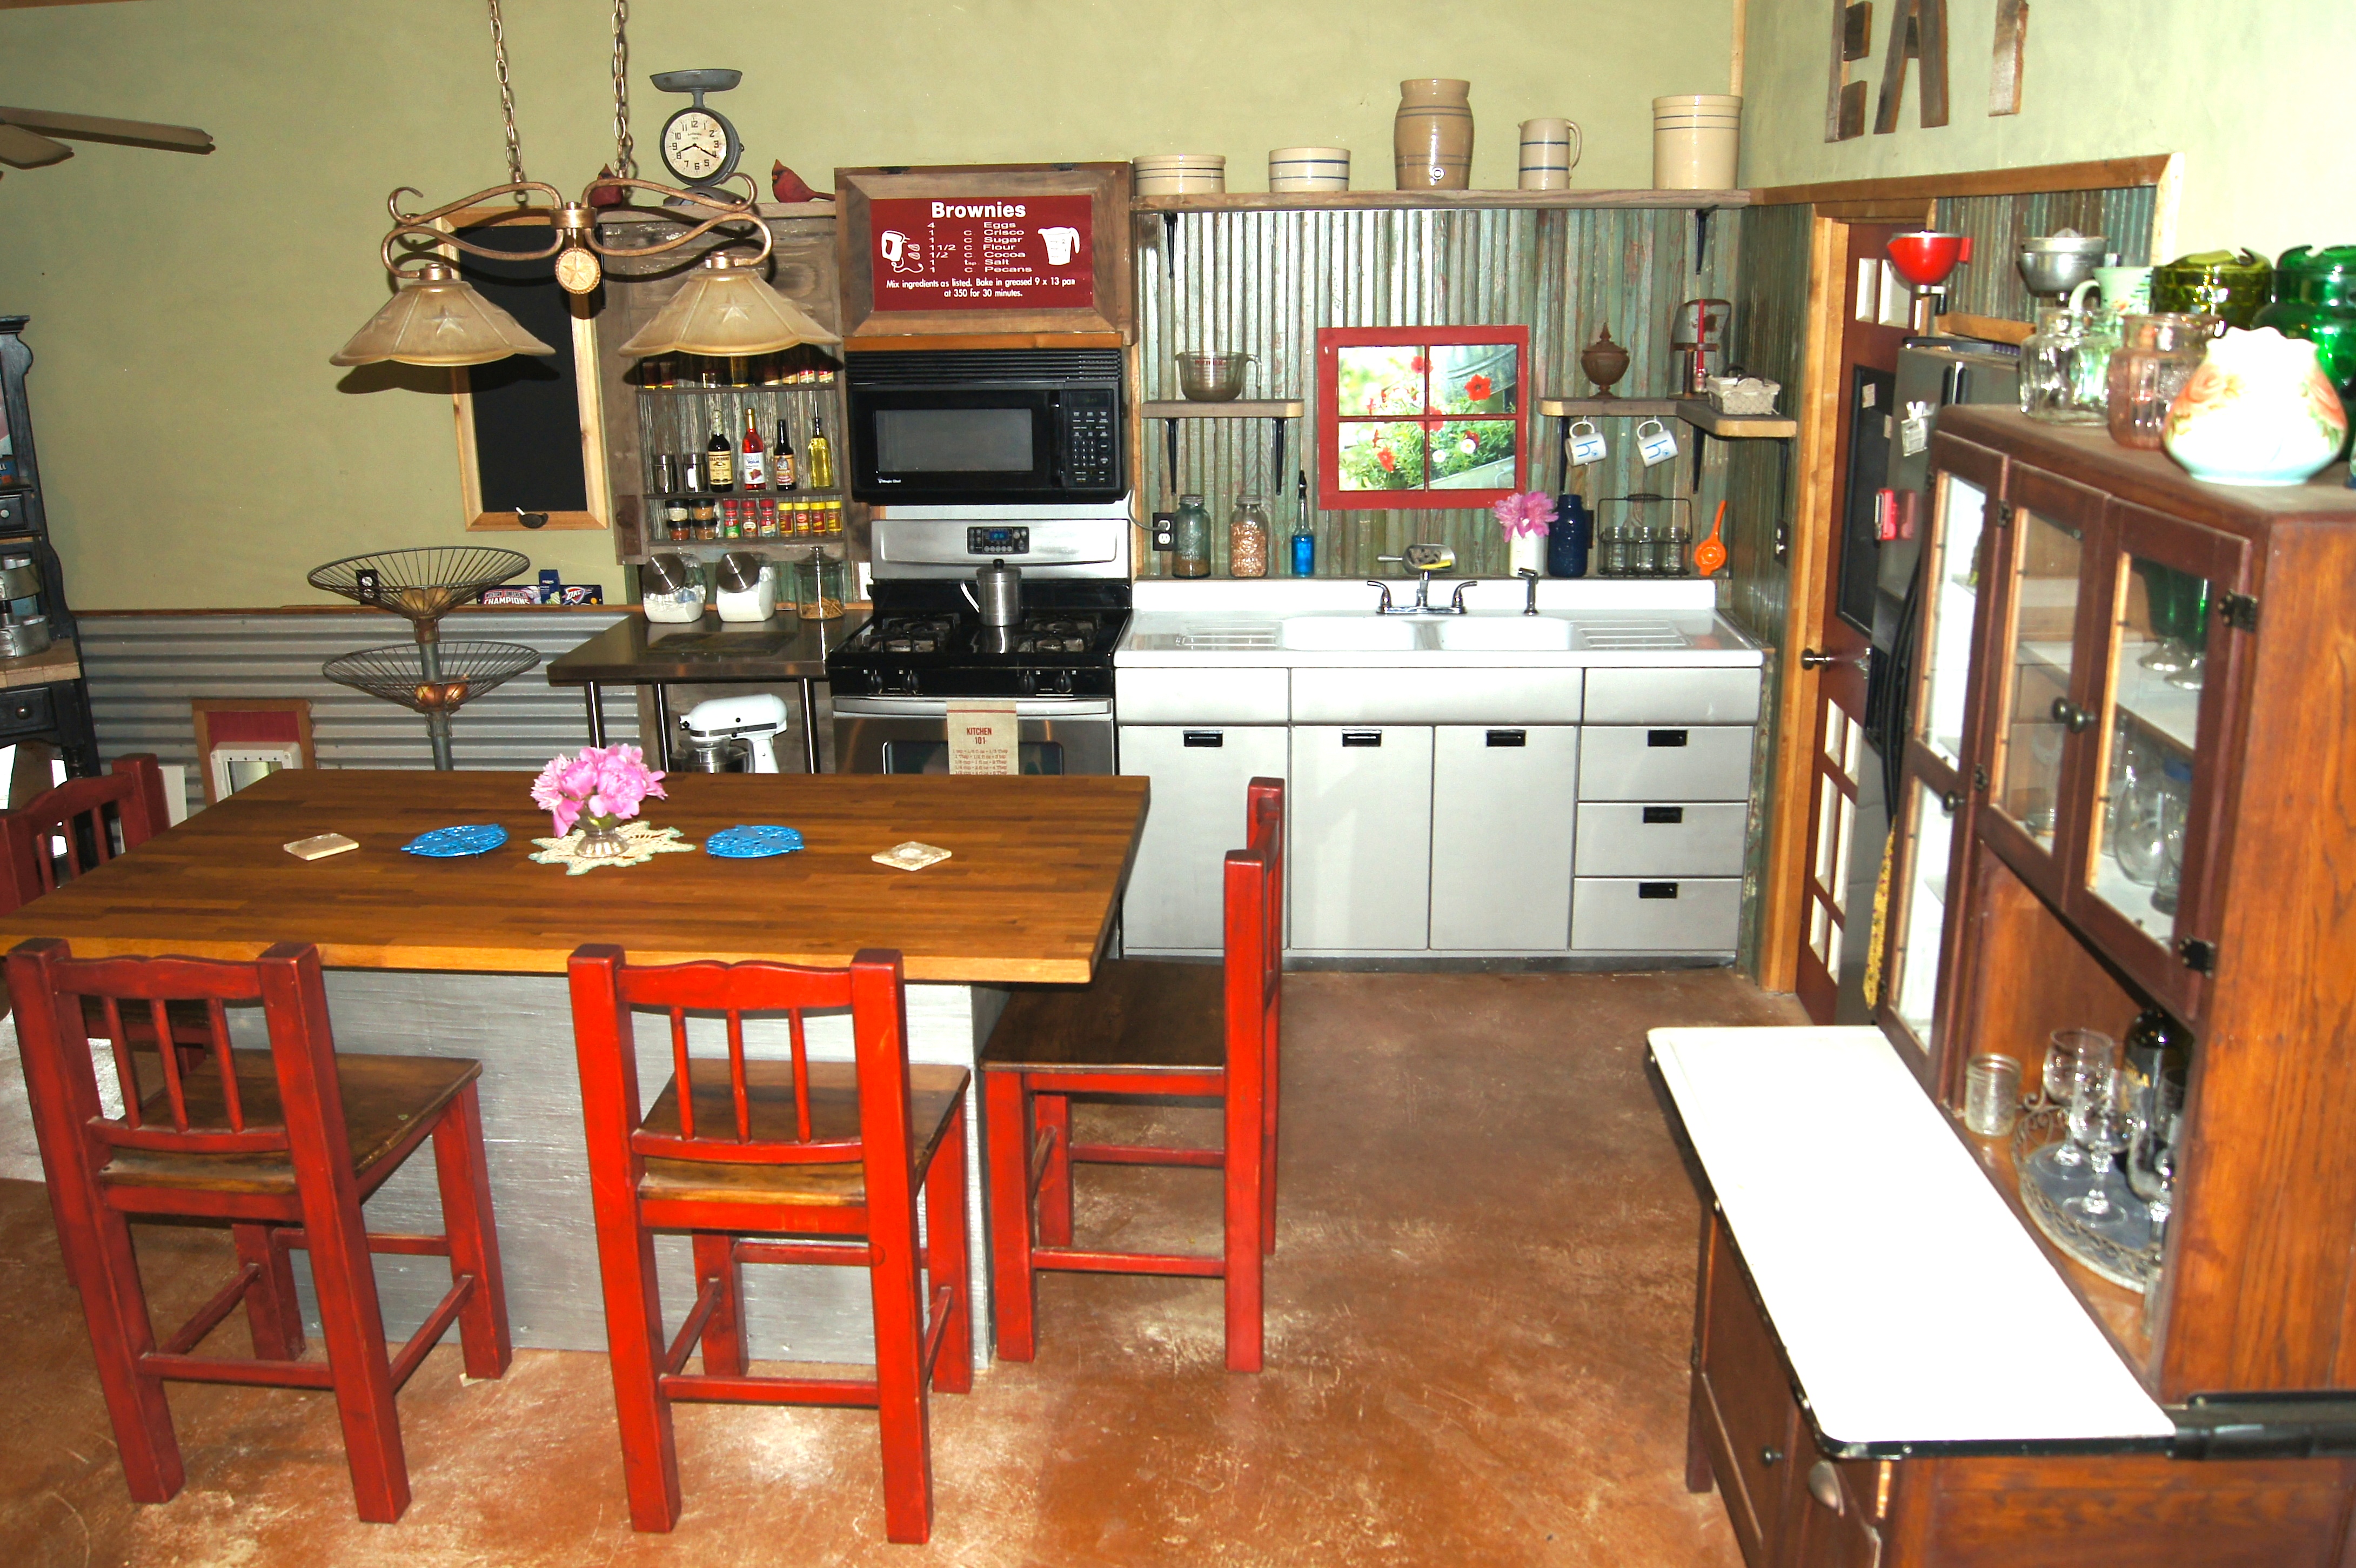
View of our kitchen makeover using all repurposed materials.
Our rustic kitchen
I hope you enjoyed our little kitchen makeover as much as we did! Take care
till we repurpose again:) Steve & Tina

4 Responses to Small Rustic Kitchen Makeover
Jodi Papineau says:
I love your kitchen!!! What is the floor made of?
Tina Burrows says:
Jodi, The floor is concrete that we stained and then roughed up to give it an aged look!
Karen Young says:
This was so much fun watching you do all the wonderful make over using repurposed material for your kitchen. Unbelievable how the Montgomery Ward metal sink cabinet came out looking brand new considering what you started with! Who needs a real window when you have beautiful flowers to look at everyday! As we looked at all the finished redo photos its great to see all your project using repurposed material. I loved it as the kitchen is so much brighten!!!!
Tina Burrows says:
Thank you! We truly enjoy working on our home together and using all repurposed materials. If only, the house sat just west of town on about 5 acres:)